
We’ve all been there. Your hair feels flat, the ends look tired, and a salon visit just isn’t in the cards. The good news? You can absolutely give yourself a layered haircut at home and still make it look like you stepped out of a salon. With the right tools, a little patience, and some smart technique, creating natural-looking layers is easier than you might think.
This guide walks you through each step of cutting layered hair at home—without the panic or regret.
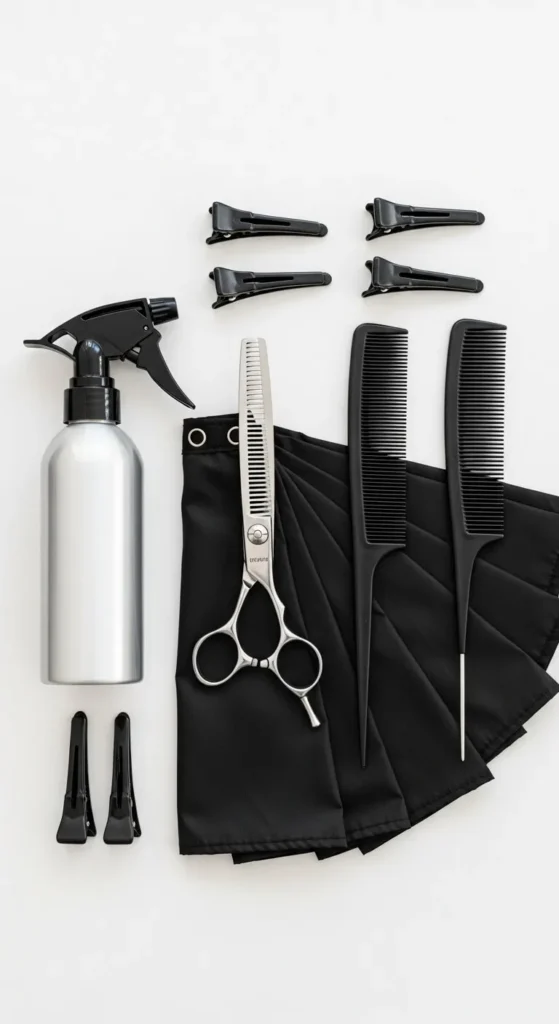
Step 1: Gather the Right Tools
Before you start snipping, make sure you have everything you need. Using the wrong tools can make your cut uneven or frizzy.
You’ll need:
- Sharp haircutting scissors (not kitchen ones!)
- A fine-tooth comb
- Hair clips or ties for sectioning
- A spray bottle with water
- A handheld mirror or two for checking the back
- A towel or salon cape to keep things tidy
Having good lighting is just as important. Natural light or a bright vanity setup helps you see what you’re doing clearly.
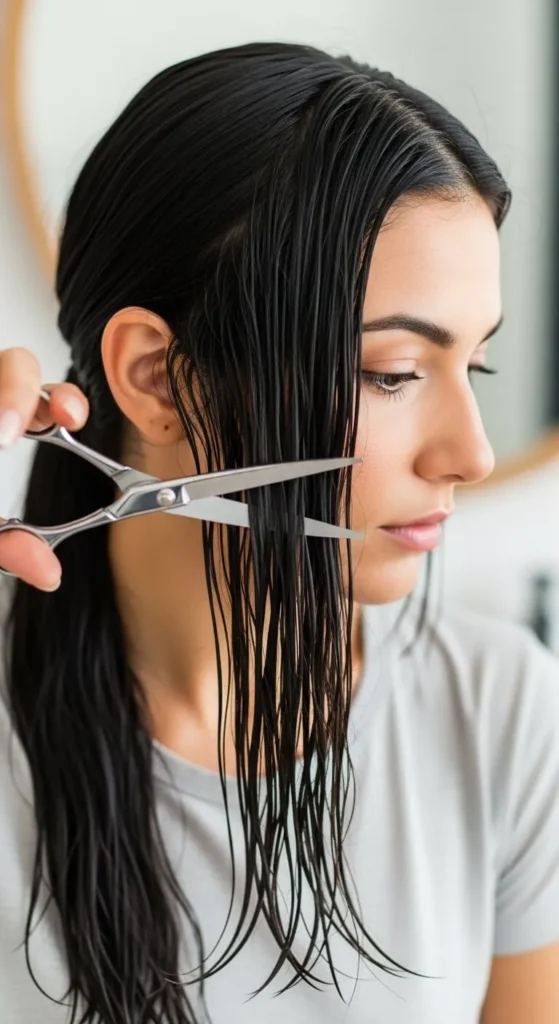
Step 2: Start with Clean, Damp Hair
Layers look best when your hair is freshly washed and slightly damp—it’s easier to part, comb, and cut evenly.
- Wash and condition your hair as usual.
- Towel-dry gently until it’s just damp, not dripping.
- Comb out all tangles before starting.
If your hair dries too quickly, keep a spray bottle nearby to re-wet sections as you work.

Step 3: Create Your Guide Section
This is the foundation of your layered haircut.
- Part your hair down the middle from forehead to nape, creating two equal sections.
- Pull your hair forward into a ponytail under your chin for face-framing layers, or on top of your head for longer layers.
- Decide your layer length. The point where you cut determines how short your shortest layer will be.
For example, cutting near your chin gives shorter, bouncier layers, while cutting closer to your collarbone keeps things subtle.
Snip straight across in small sections instead of one big chop. Once done, let your hair down and admire the soft, natural layers.
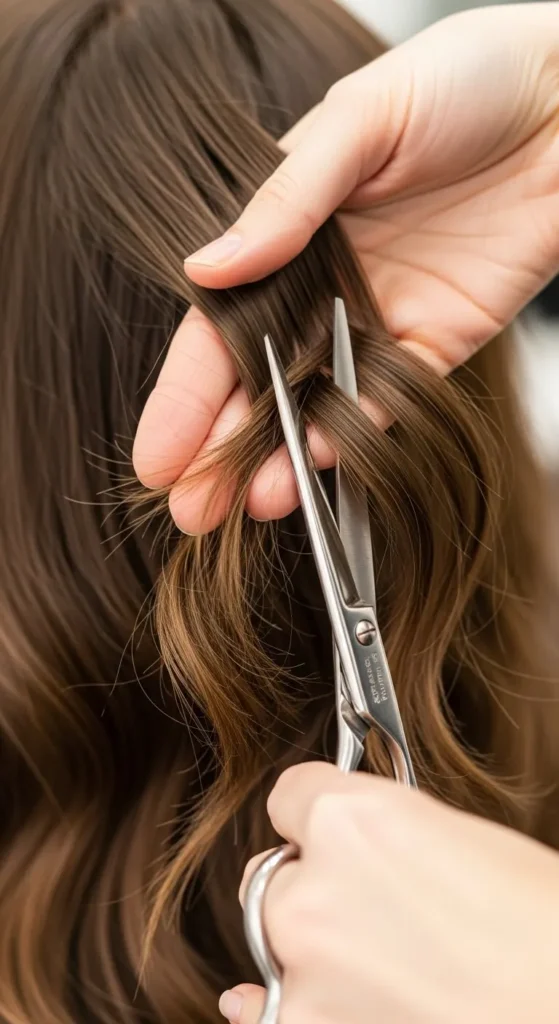
Step 4: Refine and Blend the Layers
After your first cut, you’ll notice where your layers fall but now it’s time to make them look blended and professional.
- Comb your hair straight down and identify any uneven areas.
- Use point cutting (snipping vertically into the ends) to soften blunt edges.
- Check from multiple angles. Use your mirror to make sure both sides match.
If your hair feels too heavy at the ends, grab small sections and lightly trim upward at an angle to remove weight without losing length.
Take your time with this step—the secret to salon-quality layering is in the blending.
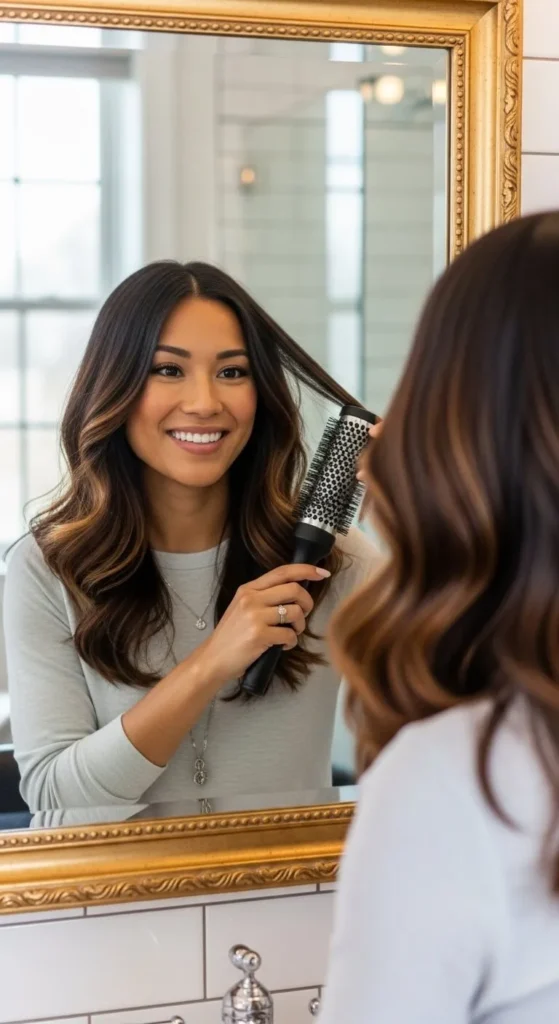
Step 5: Style and See the Final Shape
Once your cutting is done, it’s time to style and bring those layers to life.
- Blow-dry your hair using a round brush to see the shape clearly.
- Add a little volumizing spray at the roots for bounce.
- Curl or wave the ends slightly to emphasize the new layers.
As you dry, you’ll notice your hair feels lighter, more textured, and has natural movement that wasn’t there before.
If needed, do tiny touch-ups once it’s completely dry—sometimes damp hair hides small uneven pieces.
Tips for Success
- Always cut less than you think. You can take more off, but you can’t add it back.
- Use professional scissors—dull blades cause split ends.
- Work slowly and in good lighting.
- Avoid cutting when your hair is curly or frizzy; always smooth it first.
If you’re nervous about taking off too much, start with long, subtle layers. You can always add more dimension later.
The Takeaway
Cutting layered hair at home doesn’t have to be a disaster. With the right prep, tools, and a calm approach, you can create soft, blended layers that flatter your face shape and make your hair look healthier instantly.
It’s empowering to know you can maintain your style without a salon trip—and once you try it, you’ll realize it’s easier than it looks.
Save this guide before your next DIY haircut night—you’ll be styling like a pro in no time.

Leave a Reply