
Nothing says festive quite like a perfectly tied bow. Whether you’re dressing up for a holiday party, a cozy winter brunch, or just want to add a sweet touch to your everyday look, hair bows are the ultimate accessory. They’re feminine, fun, and endlessly versatile—you can use ribbons, velvet bands, or even satin scarves to match your mood or outfit.
If you’ve ever struggled to make your bow look neat (or have it stay in place all day), don’t worry. In this guide, you’ll learn how to tie cute hair bows that look professional, last through your festivities, and work with any hairstyle.

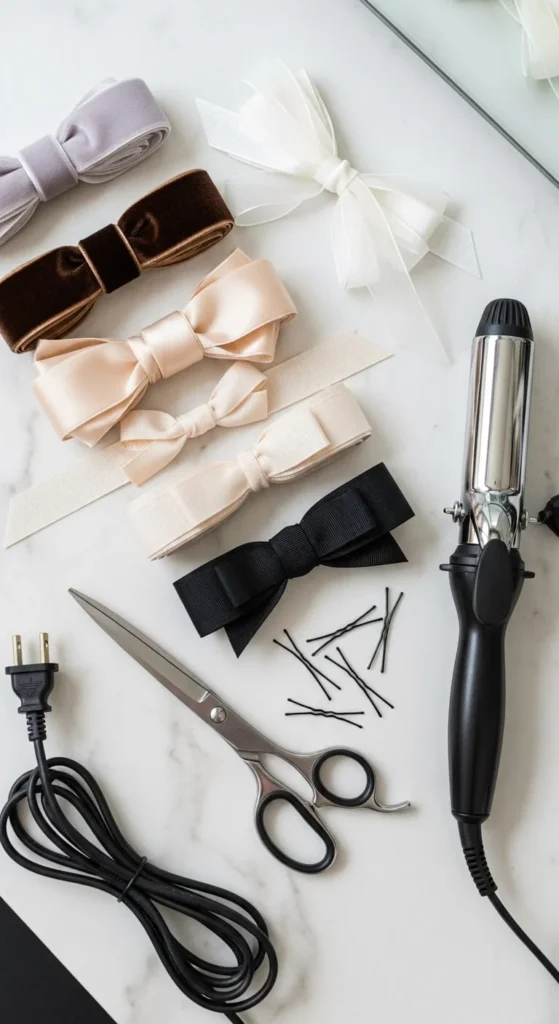
Step 1: Pick the Right Ribbon or Bow Material
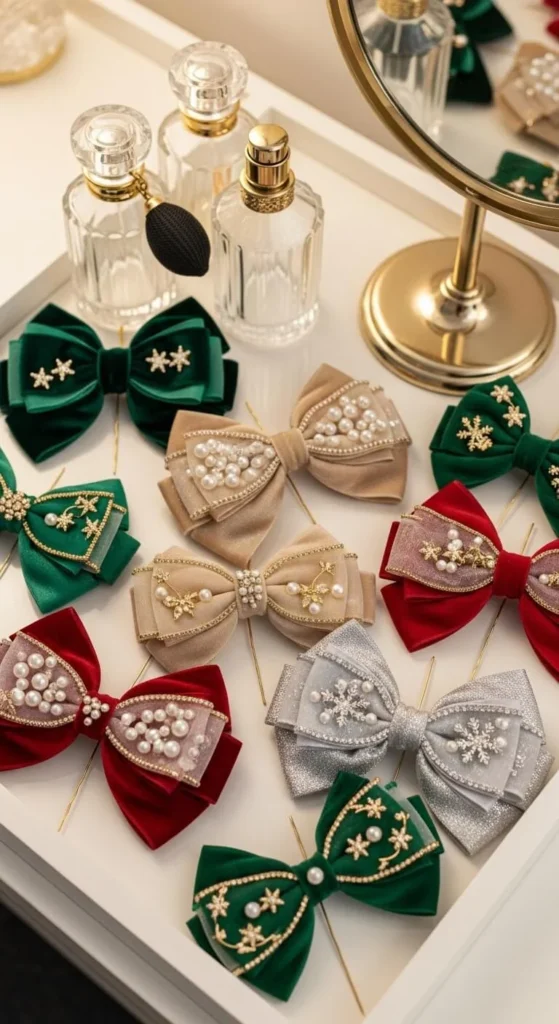
Before you start tying, it’s important to choose the right ribbon. Different materials create different looks—and some hold better than others.
- Velvet Ribbons: Perfect for winter or evening events. They have a rich, elegant texture and hold their shape beautifully.
- Satin Ribbons: Shiny and smooth, great for formal looks but can be slippery—double-knot these for security.
- Grosgrain Ribbons: Textured and sturdy, perfect for casual hairstyles and everyday wear.
- Organza or Sheer Ribbons: Light, romantic, and airy—lovely for weddings or spring occasions.
If you prefer a ready-made bow, you can also use clip-on or tie-on versions. But tying your own gives a softer, more personalized touch.
Step 2: Prep Your Hair for a Clean Base
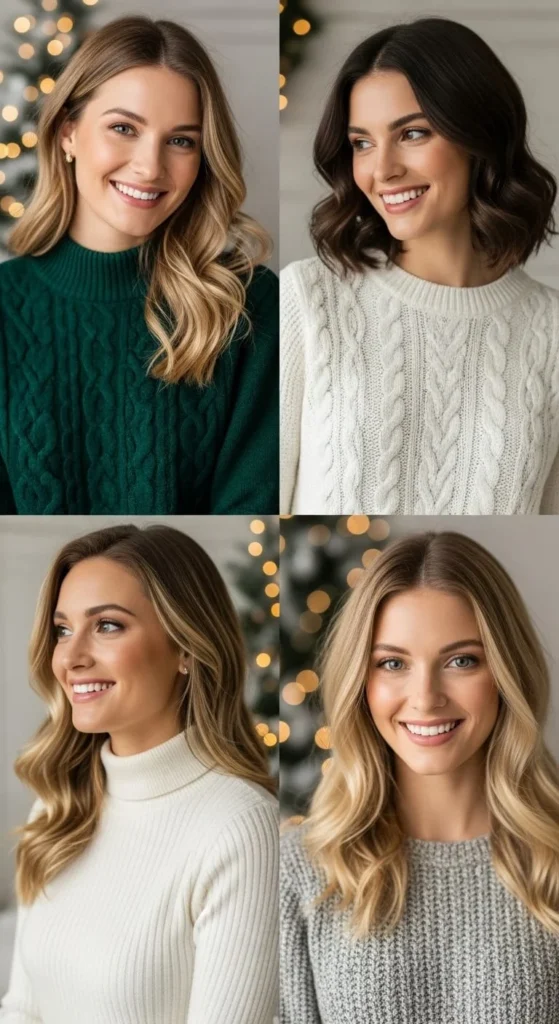
Even the prettiest bow won’t shine if your hair is frizzy or unbalanced. Start by brushing your hair and choosing the style you’ll be adding your bow to.
Here are a few ideas that pair beautifully with bows:
- Low ponytail: Classic and elegant. Works best with velvet or satin ribbons.
- Half-up half-down: Playful and sweet—great for casual festive looks.
- Top knot or messy bun: Adds a whimsical, effortless vibe.
- Braided styles: Tie a small bow at the end or weave the ribbon through the braid.
Once your hair is styled, spritz a light mist of hairspray or smoothing serum to tame flyaways and keep everything polished.
Step 3: How to Tie the Perfect Classic Bow
Here’s the basic bow-tying technique that works on ponytails, buns, and braids alike.
- Hold the ribbon evenly: Start with equal lengths on both sides so your bow is balanced.
- Wrap once around the hair tie: Secure the base of your ponytail or bun tightly.
- Cross one end over the other: Just like tying shoelaces, create a small loop with one side.
- Pull the other side through: Form a second loop and tighten until you get the desired bow size.
- Adjust gently: Tug both loops and tails until they sit evenly and face forward.
If you want your bow to stay put, secure it with a couple of bobby pins hidden behind the knot. You can even spray a touch of flexible-hold hairspray for extra grip.
Step 4: Style Ideas for Every Festive Occasion
Hair bows aren’t just for little girls—they can be styled in countless chic, grown-up ways. Let’s explore a few festive favorites you can try this season.
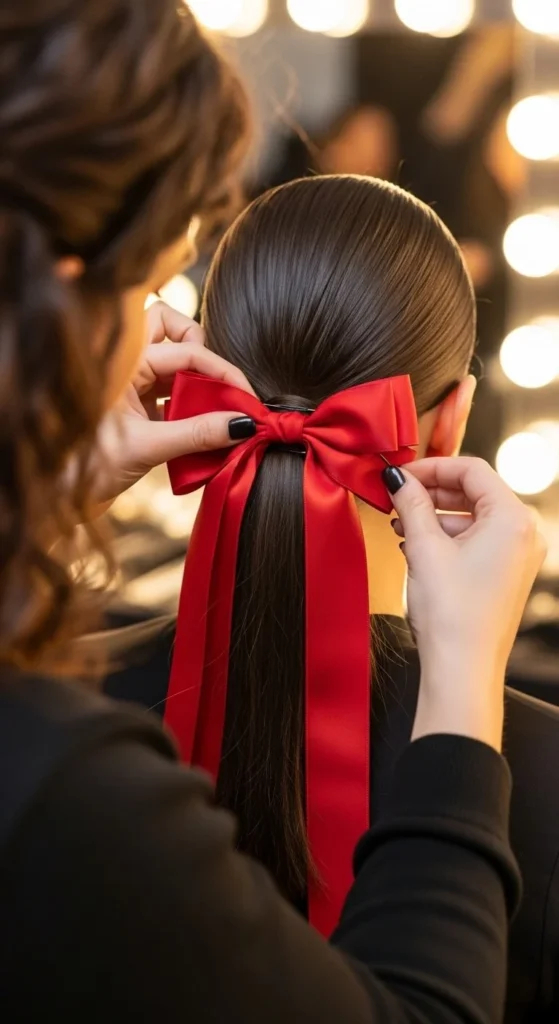
1. The Holiday Velvet Ponytail
Perfect for Christmas parties or dinners. Create a smooth low ponytail and tie a thick velvet ribbon around the base. Choose deep colors like burgundy, emerald, or navy for a luxurious finish.
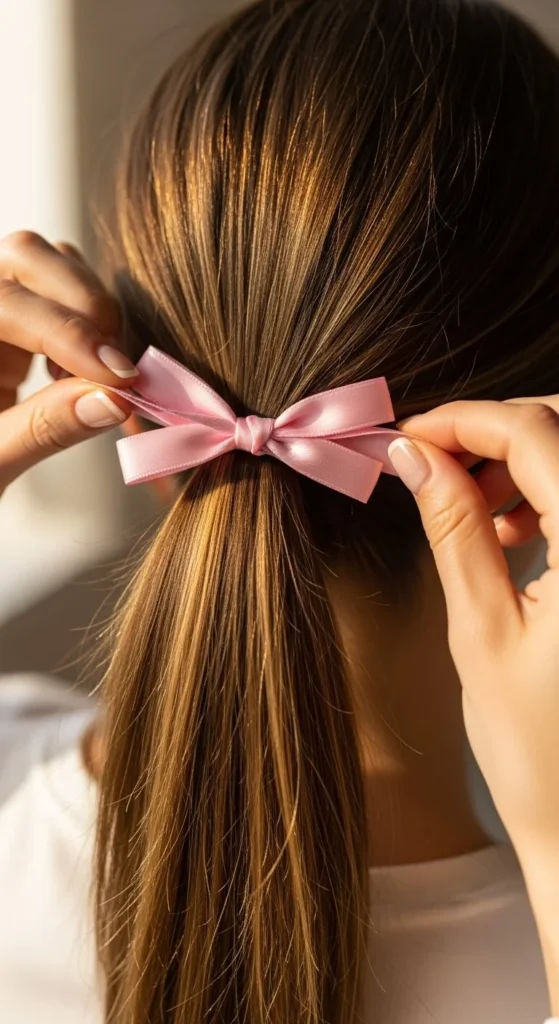
2. The Half-Up Bow Twist
Take the top section of your hair and twist it loosely before tying a satin bow at the center. It’s subtle yet elegant, ideal for family gatherings or brunch dates.
3. The Braided Ribbon Weave
Before braiding, weave a long ribbon through your strands, keeping it visible as you braid down. Finish with a small bow at the end for a romantic touch.
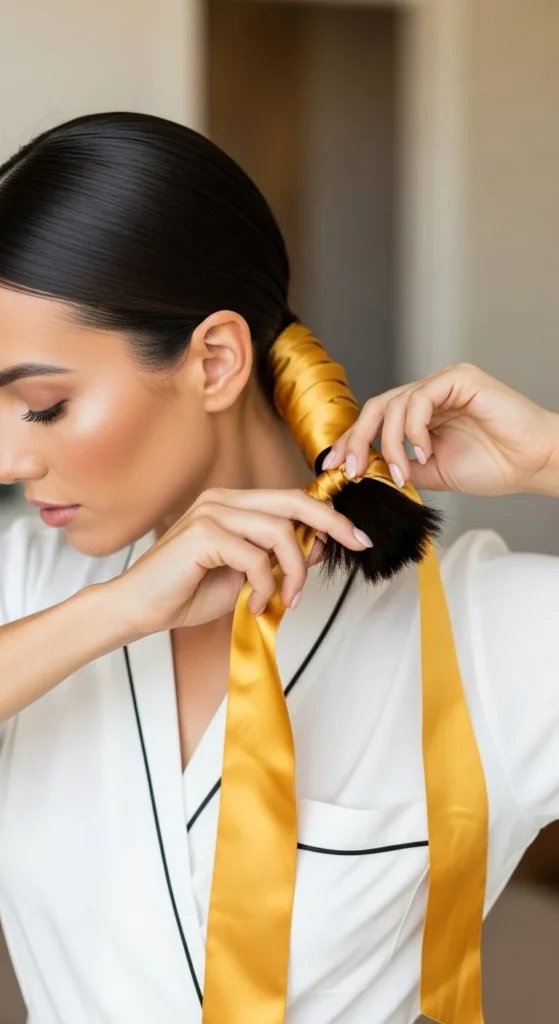
4. The Bun Bow Wrap
Wrap a ribbon around the base of a messy bun or top knot and tie it in a small bow. It instantly turns a casual look into something charming and photo-ready.
For special occasions, try matching your bow to your outfit color scheme—or contrast it for a fun pop of color.
Step 5: Make Your Bow Stay All Day
The secret to lasting bows lies in the prep and finishing touches. No one wants their ribbon sliding down or untangling mid-party.
- Use a sturdy hair tie underneath. Don’t rely on the ribbon alone to hold your style.
- Secure with bobby pins. Tuck them discreetly behind the bow knot to lock it in place.
- Spray lightly. A touch of hairspray can keep both your style and ribbon neat.
- Avoid too-slick fabrics. If your ribbon keeps slipping, switch to grosgrain or textured material.
If your ribbon starts to crease or wrinkle, gently steam it before reuse—it’ll look brand new again.
Step 6: Add Personal Touches and Accessories
The beauty of hair bows is that they’re easy to customize. You can add small decorative accents for extra flair.
- Pearl or crystal pins: Slide a few into the center knot for sparkle.
- Metallic thread ribbons: Perfect for New Year’s or glam events.
- Printed ribbons: Polka dots, plaid, or florals can make your look playful and unique.
- Layered bows: Tie two ribbons of different textures or colors together for a more creative look.
These small additions can transform a simple hairstyle into something truly festive and picture-worthy.
Step 7: Removing and Reusing Your Bow
After your event, untie your ribbon carefully instead of pulling it out—this keeps it from tangling or stretching. Smooth it flat, roll it loosely, and store it in a box or drawer to maintain its shape.
You can easily reuse your ribbons for multiple occasions. Mix and match lengths, materials, and colors to create a fresh look every time.
The Takeaway
Hair bows are the ultimate festive detail—simple to create, endlessly customizable, and always charming. With the right ribbon, a little practice, and a few styling tricks, you can tie bows that stay neat, feel comfortable, and turn heads all season long.
Whether you’re going for elegant velvet, playful satin, or casual grosgrain, these little accessories can make any hairstyle look polished and joyful.
So grab your favorite ribbon, tie up your hair, and let your festive spirit shine. Save this guide for your next special occasion—you’ll want to come back to it every holiday season!

Leave a Reply