
There’s something effortlessly chic about a messy bun. It’s that perfect blend of “I woke up like this” and “I totally planned this look.” Whether you’re heading to brunch, the gym, or a last-minute Zoom meeting, the messy bun is your go-to hairstyle that looks great on everyone and the best part? You can do it in under five minutes.
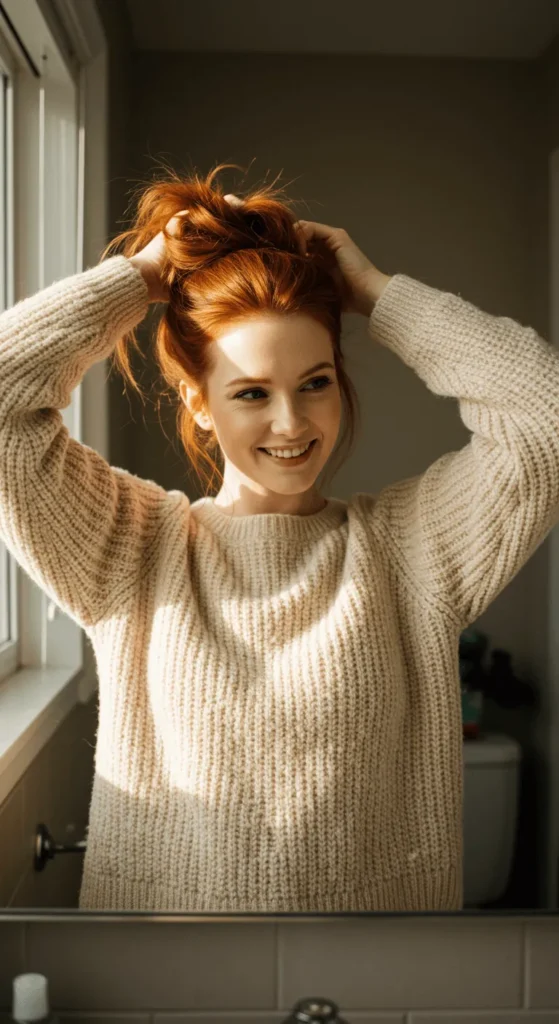
Step 1: Prep Your Hair
The secret to a perfect messy bun starts before you twist a single strand. The right texture makes all the difference — too silky, and it’ll slip out; too dry, and it’ll look flat instead of full.
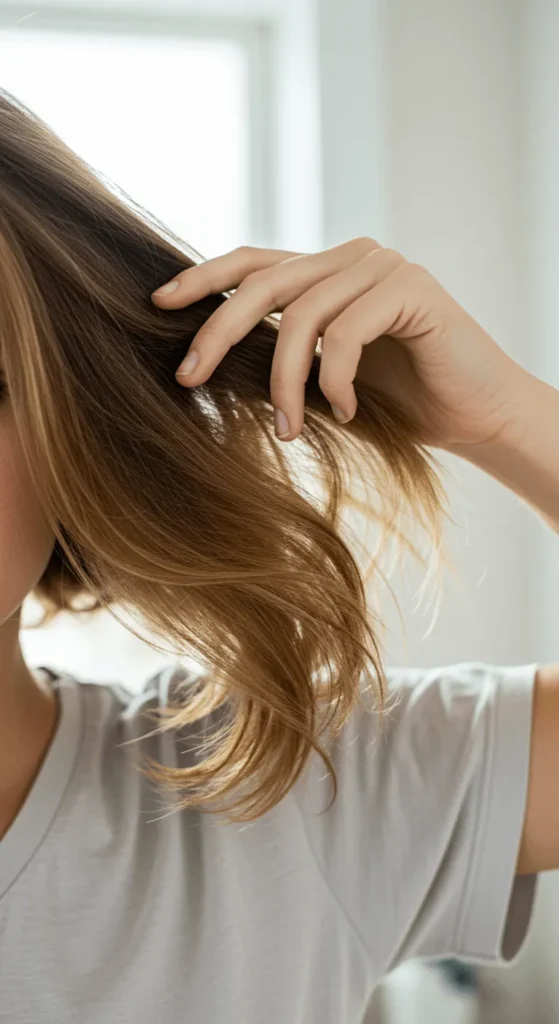
Here’s what to do:
• Skip freshly washed hair. Day-old hair has the natural grip you need.
• Add texture spray or dry shampoo. This gives your hair volume and hold.
• Brush through gently to remove tangles but keep the natural body intact.
If your hair is super fine, lightly tease the crown area for some lift. Think of it as the “foundation” of your bun, you’re creating structure and volume before styling.
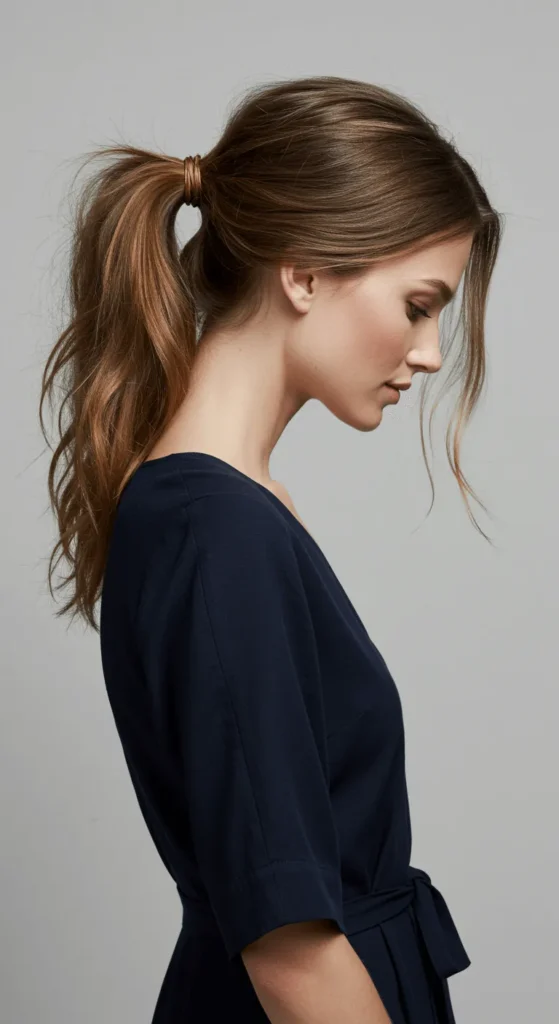
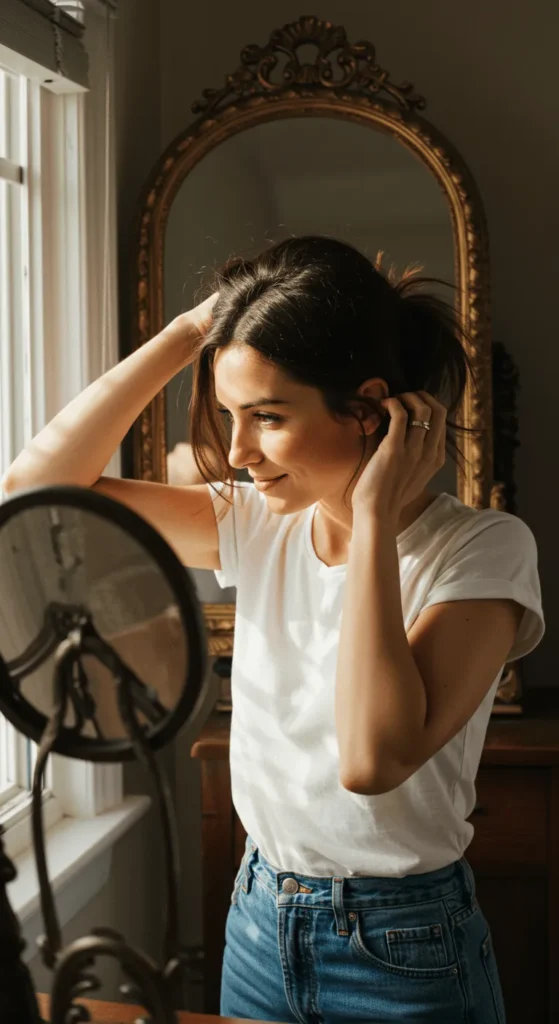
Step 2: Create a High or Low Ponytail
Now that your hair has some texture, it’s time to decide on placement.
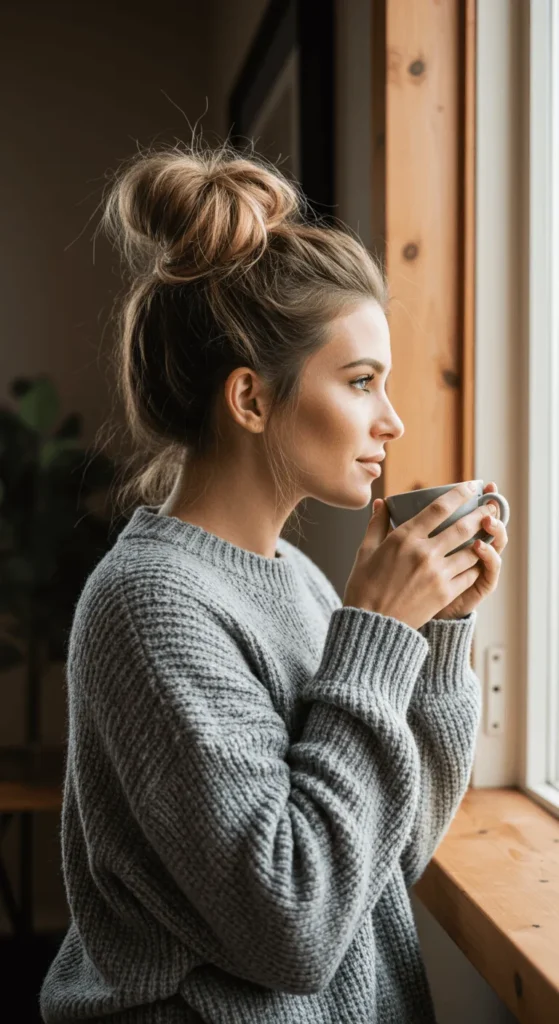
For a playful, casual look: go for a high ponytail.
For a relaxed, boho vibe: keep it low and loose at the nape of your neck.
Tilt your head forward slightly and gather your hair with your hands — not a brush — to maintain that natural, undone look. Secure with a hair tie, but don’t wrap it too tightly. You want flexibility to adjust the bun later.
Pro Tip: Pull out a few front strands to frame your face for that perfectly “messy” finish.
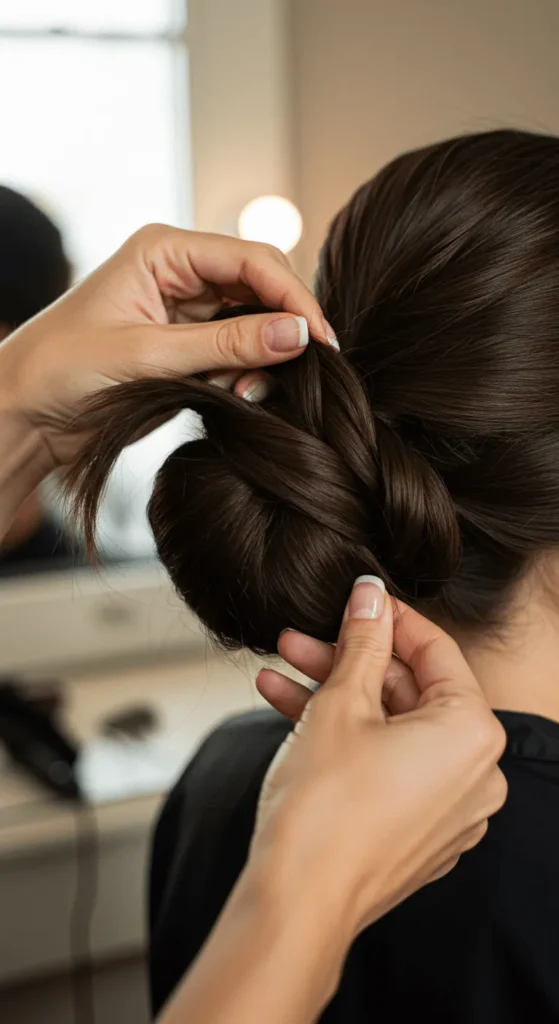
Step 3: Twist, Wrap, and Secure
Here’s where the magic happens!
- Twist your ponytail gently — not too tight, just enough to gather it together.
- Wrap the twist around the base of your ponytail to form a bun shape.
- Tuck the ends under the elastic or pin them loosely with bobby pins.
If it looks a little uneven — perfect. That’s the charm of a messy bun. Adjust by tugging gently at sections of the bun to make it fuller and more relaxed.
Pro Tip: Use hairpins that match your hair color for a natural look. If you want extra volume, gently pull the bun apart after securing it.
Step 4: Add the Finishing Touches
This is where your messy bun becomes Pinterest-worthy.
Try these quick touches:
• Loosen the crown area slightly by pulling up tiny sections — this adds height and shape.
• Pull out wisps near your temples and ears for that soft, romantic finish.
• Spritz with light-hold hairspray to keep everything in place without stiffness.
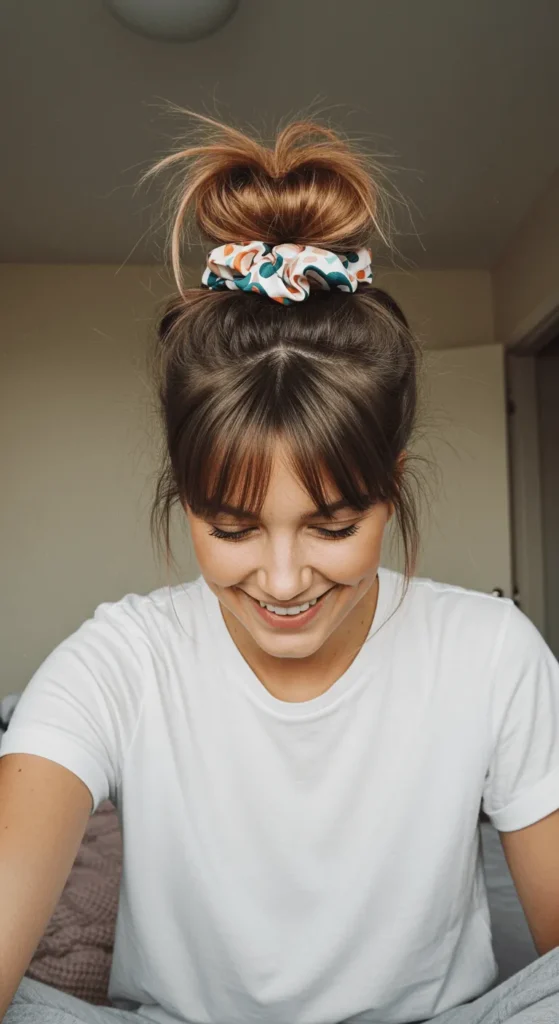
• Optional: Add a cute accessory like a silk scrunchie, pearl pin, or headband for a touch of personality.
If you have curly or wavy hair, leave some tendrils out around the face or neck — it adds a dreamy, lived-in effect.
Step 5: Quick Fixes for Common Bun Problems
Even the best messy buns can misbehave but don’t worry, there’s always a fix!
Problem 1: Your bun keeps falling apart
→ Use a second elastic or a few extra pins. Or try twisting tighter before wrapping.
Problem 2: It looks too “perfect”
→ Mess it up intentionally! Gently tug sections loose and pull out a few random strands.
Problem 3: It’s flat on top
→ Slide the handle of a comb or your fingers under the crown and lift slightly to create instant volume.
Problem 4: Too frizzy or static-y
→ Rub a drop of serum or even hand lotion between your palms and lightly smooth over the surface.
Final Touch: Own Your Look
The beauty of the messy bun lies in its imperfection, no two buns are ever the same, and that’s exactly what makes it so effortlessly cool. It’s versatile, quick, and flattering on every hair type.
So next time you’re rushing out the door or just want to look put-together without the effort, grab your hair tie, skip the mirror perfectionism, and twist up your hair into that carefree bun.
Because the best hairstyles aren’t the ones that look flawless, they’re the ones that make you feel confident, comfortable, and a little bit fabulous.✨ Save this guide for later — your 5-minute messy bun will soon become your new signature look!

Leave a Reply