
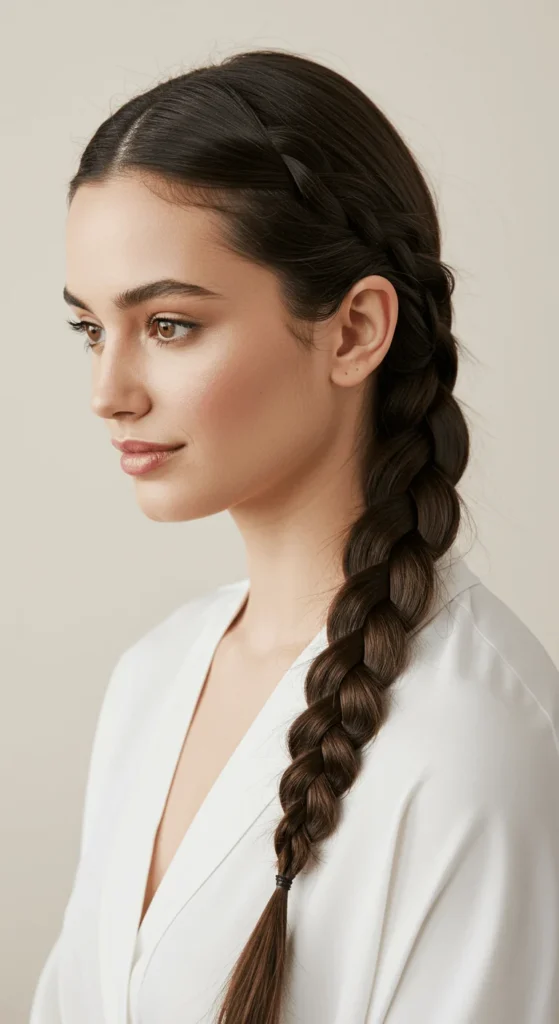
There’s something about a Dutch braid that just makes you feel powerful and put-together. It’s bold, textured, and adds instant flair whether you’re heading to class, brunch, or a night out. The best part? You don’t need to be a pro stylist to pull it off. Once you understand the simple “underhand” technique, you can create this eye-catching braid anytime, anywhere.
Step 1: Prep Your Hair
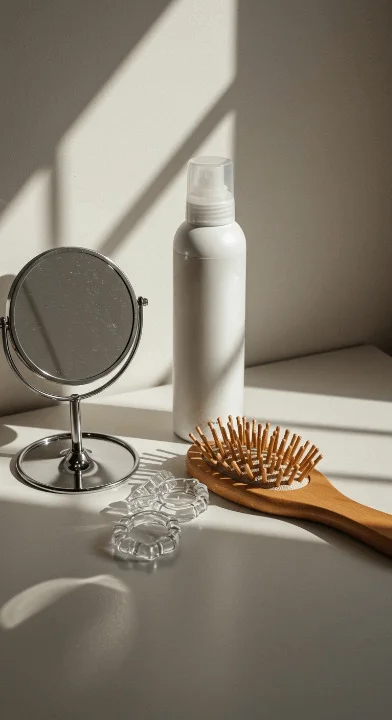
A great Dutch braid starts with a little prep. The braid holds better when your hair has some grip, so avoid freshly washed strands.
You’ll need:
- A brush or wide-tooth comb
- Elastic bands
- A bit of texture spray or dry shampoo
- Bobby pins (optional)
Start by brushing your hair to remove tangles. If your hair feels slippery, lightly mist it with dry shampoo. This adds texture and volume, making it easier to control each strand.
Step 2: Section and Divide
Now it’s time to map out your braid.
- Start by taking a triangle-shaped section from the crown of your head—right at the front.
- Split that section into three equal strands.
- Here’s the key difference between a Dutch braid and a French braid: instead of crossing the strands over the middle, you’ll cross them under.
So the right strand goes under the middle, then the left strand goes under the middle. This creates that beautiful “raised” braid look that sits on top of your hair instead of blending in.
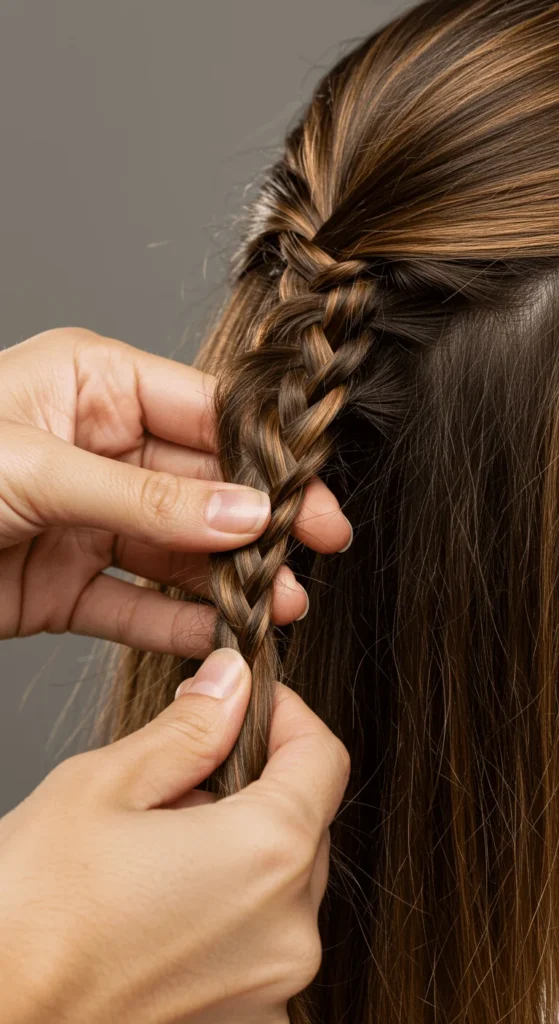
Step 3: Add Hair as You Go
This is where your Dutch braid starts to take shape.
- Each time you cross a strand under the middle, add a small piece of loose hair from the same side.
- Keep alternating sides, adding hair evenly as you move down.
- Use your thumbs to guide and pick up clean sections while your fingers handle the weaving.
Try to keep your hands close to your scalp to maintain control and prevent loose bumps. The tighter your braid, the more defined it’ll look.
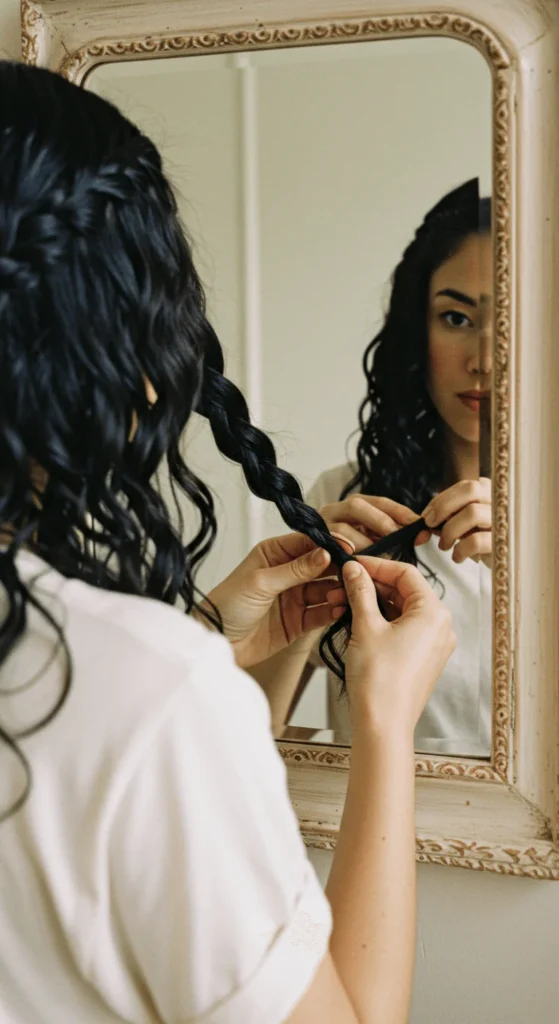
Tip: Use a mirror to check your sections as you go—especially if you’re braiding your own hair.
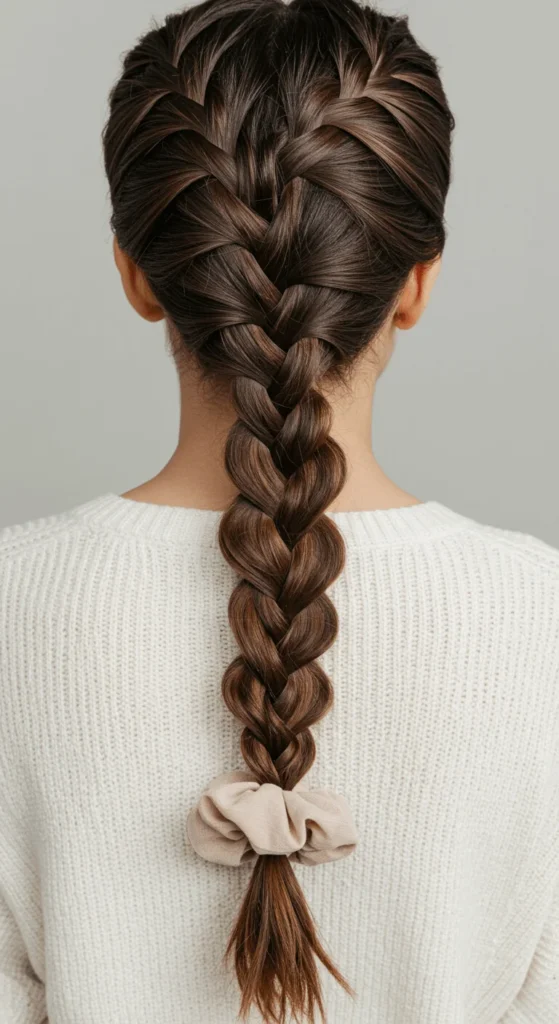
Step 4: Secure and Style
Once you reach the nape of your neck and have no more hair to add, finish the rest of the braid just like a regular three-strand braid. Tie it off with a clear elastic or a scrunchie that matches your outfit.
Now, for the fun part—styling!
- Gently pull on the sides of the braid to make it appear thicker and more dramatic.
- If you prefer a relaxed look, loosen a few front pieces around your face.
- For a sleeker style, smooth the edges with a touch of serum or spray.
Step 5: Add Finishing Touches
Want to take your Dutch braid from casual to Instagram-worthy? A few small touches go a long way.
- Mist a bit of light-hold hairspray to set the style.
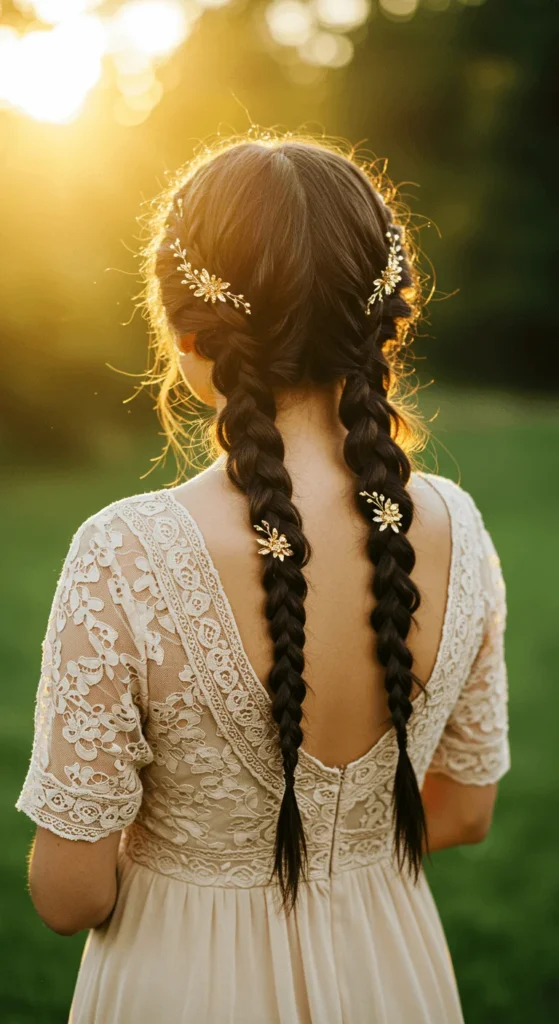
- Add hair accessories like gold clips, ribbons, or pearl pins for special occasions.
- For an edgier vibe, try braiding two parallel Dutch braids—also known as boxer braids.
These little details help transform your braid into a signature look that fits your style and mood.
Step 6: Make It Your Own
The Dutch braid is one of the most versatile hairstyles out there. You can wear it in so many ways:
- A side Dutch braid for an everyday soft look
- A double Dutch braid for sporty or festival days
- A Dutch braid crown for weddings or date nights
- A messy Dutch bun for effortless weekend vibes
Experiment with each variation until you find the one that feels most “you.”
Final Takeaway
Once you learn how to cross the strands under instead of over, the Dutch braid becomes surprisingly easy—and completely addictive. It’s one of those hairstyles that looks impressive but doesn’t actually take much time once you get into the rhythm.
So grab your brush, find your groove, and start braiding. In just a few minutes, you’ll have a head-turning hairstyle that’s equal parts chic and confident.
✨ Save this guide for later or pin it to your hairstyle inspiration board so you can recreate this look anytime you want that instant wow factor.

Leave a Reply