
The shag haircut has made a huge comeback and it’s not hard to see why. With its effortlessly messy layers, bouncy texture, and cool-girl energy, it’s the kind of cut that looks both laid-back and stylish. And the best part? You don’t need a salon appointment to get it. With the right tools and a bit of confidence, you can create your own trendy shag haircut at home.
Before you panic, don’t worry. This isn’t about perfection, it’s about achieving that soft, choppy, lived-in look that defines the modern shag. Here’s exactly how to do it step by step.
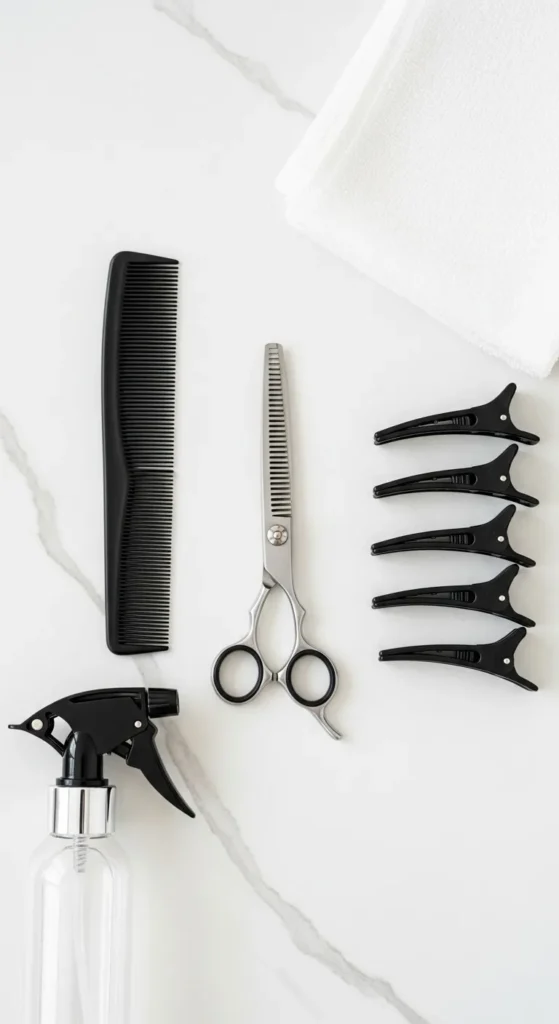
Step 1: Gather Your Tools and Prep Your Hair
Before you snip anything, make sure you’ve got the essentials ready.
- Sharp haircutting scissors: Regular household scissors will fray the ends.
- Fine-tooth comb: For even sections and precise trimming.
- Hair clips or ties: To separate your layers.
- Spray bottle of water: Keep hair damp for easier cutting.
- Mirror setup: Use two mirrors if possible to see the back.
[Image Prompt] A flat lay of hair-cutting tools on a white counter—scissors, comb, spray bottle, and sectioning clips neatly arranged beside a folded towel.
Start with clean, slightly damp hair. Comb through to remove tangles and part it in the middle unless you prefer a side part for your final look.
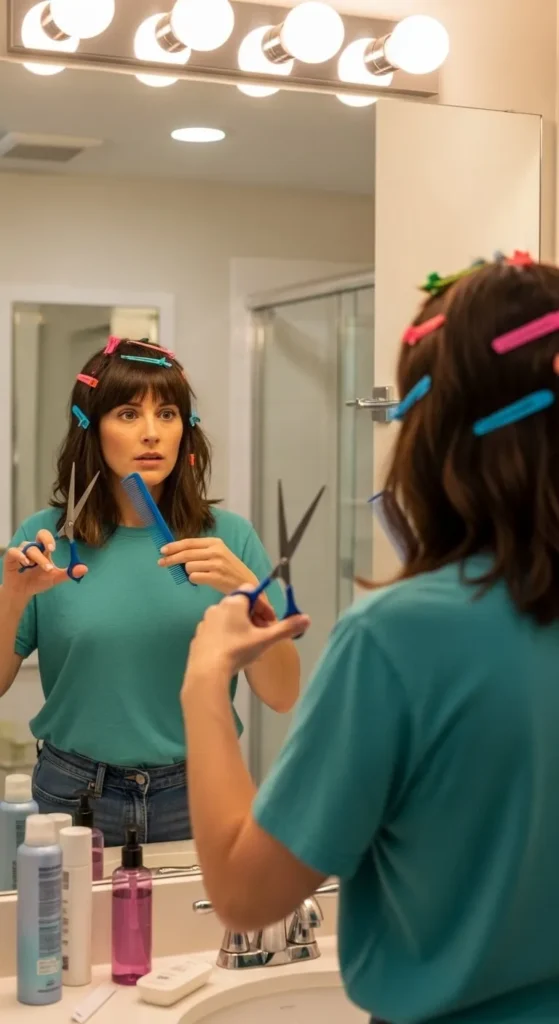
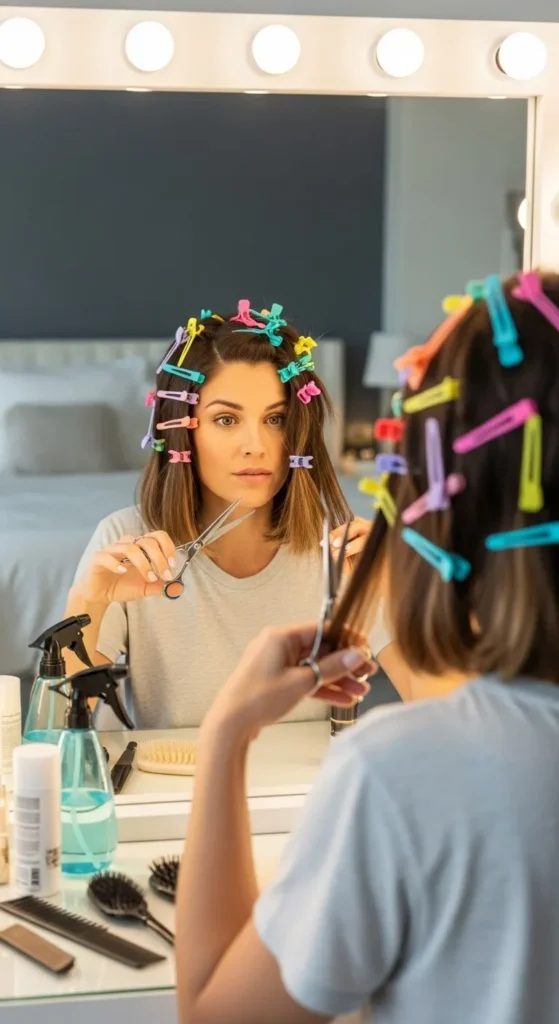
Step 2: Section Your Hair Like a Pro
This is where the magic begins. The key to a good shag haircut is layering, and that starts with clean sections.
- Divide your hair into four main sections: two in the front and two in the back.
- Clip the top sections up so you can work with the lower layers first.
- If you have thick hair, make smaller sections for better control.
[Image Prompt] A woman with shoulder-length hair sectioned into parts using colorful clips, ready to start trimming her shag layers in front of a vanity mirror.
The goal is to cut gradually—shag cuts are meant to look soft and airy, not blunt or boxy.
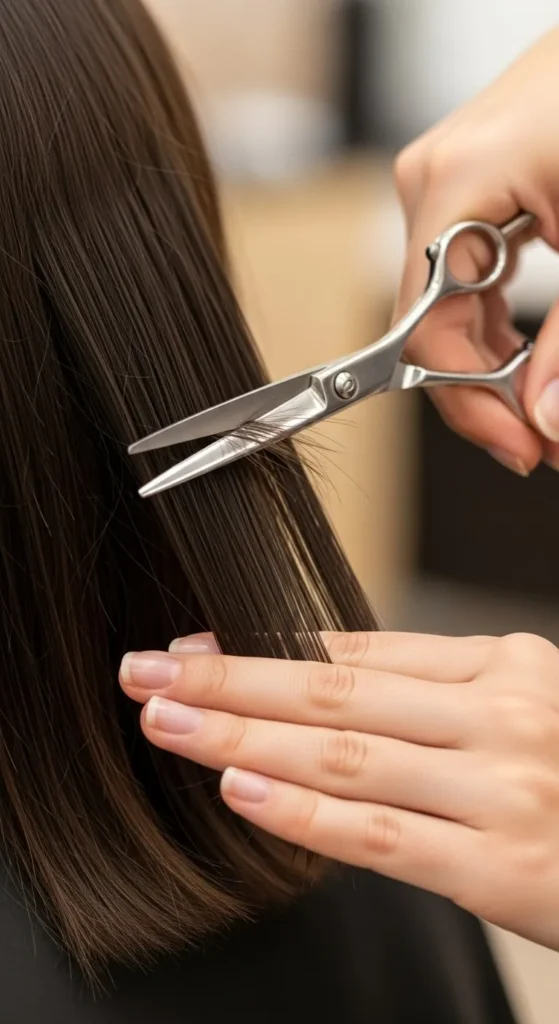
Step 3: Create the Base Layer
Start with the bottom layer of your hair. This will act as your guide for the rest of the cut.
- Unclip the back section and comb it straight down.
- Trim about half an inch to one inch off the ends to clean up your base.
- Keep your scissors angled slightly downward to avoid a harsh line.
If you’re nervous, cut less at first—you can always trim more later.
[Image Prompt] A close-up of hands cutting the bottom section of hair with silver shears, the scissors slightly angled for soft, natural ends.
Once your base is even, move on to creating layers that build texture and shape.
Step 4: Add Those Signature Shag Layers
This step gives your haircut that effortless volume and movement.
- Take a small front section and pull it forward at a 45-degree angle.
- Trim diagonally from short to long, starting around chin level (depending on your hair length).
- Repeat on both sides, making sure your angles match.
- Move upward, section by section, cutting slightly shorter as you go to form cascading layers.
For the back, pull sections upward and trim the ends using point-cutting (snipping into the hair vertically) for a feathered texture.
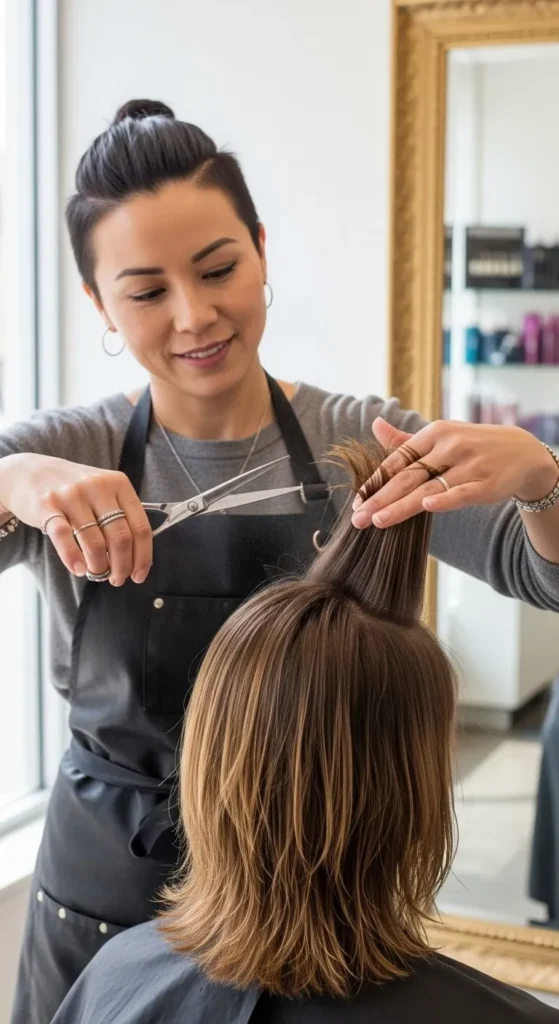
[Image Prompt] A stylist demonstrating point-cutting technique on mid-length hair, small snips creating soft, wispy layers throughout.
If you want extra shape, add shorter face-framing pieces near the front—this gives the haircut that signature ‘70s-meets-modern’ vibe.
Step 5: Shape the Bangs or Curtain Fringe
The shag haircut often features fringe or curtain bangs that blend into the layers. Here’s how to shape them safely at home:
- Take a triangle section from the front of your hairline.
- Twist the hair once and make small upward snips to shorten it gradually.
- Comb it out to check the length—ideally around cheekbone or brow level.
- Blend the bangs into your front layers for a seamless finish.
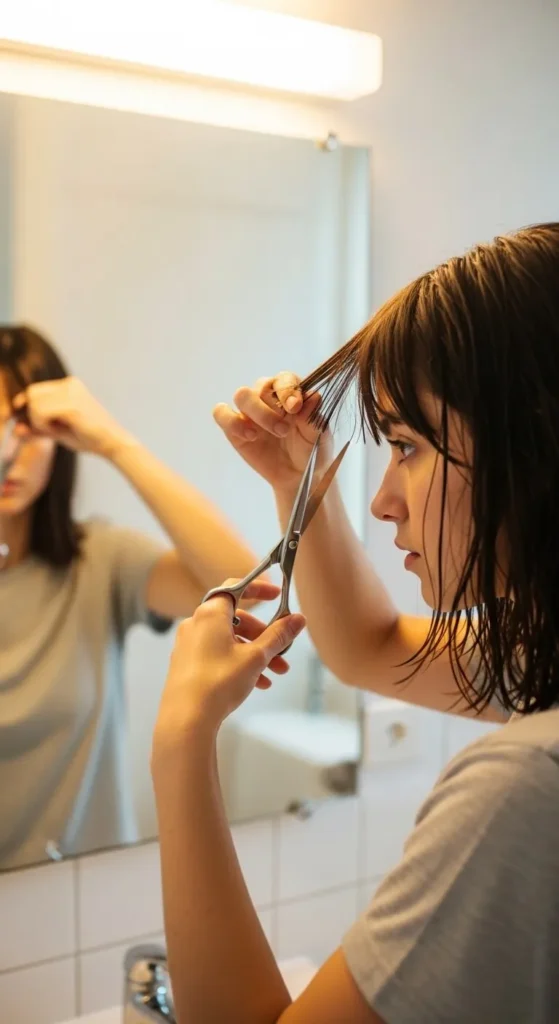
[Image Prompt] A woman trimming soft curtain bangs at home, standing close to the mirror with gentle lighting, hair falling naturally around her face.
Don’t rush this part—bangs can change your entire look. Cut slowly and adjust until it flatters your face shape.
Step 6: Style It for That Effortless Finish
Now that your shag is freshly snipped, it’s time to bring it to life.
- Apply a volumizing mousse or texturizing spray on damp hair.
- Scrunch or twist sections while blow-drying with a diffuser for tousled waves.
- Finish with a light styling cream to define layers and add shine.
If you prefer a natural look, let your hair air-dry and simply shake out the layers with your fingers for that relaxed, undone finish.
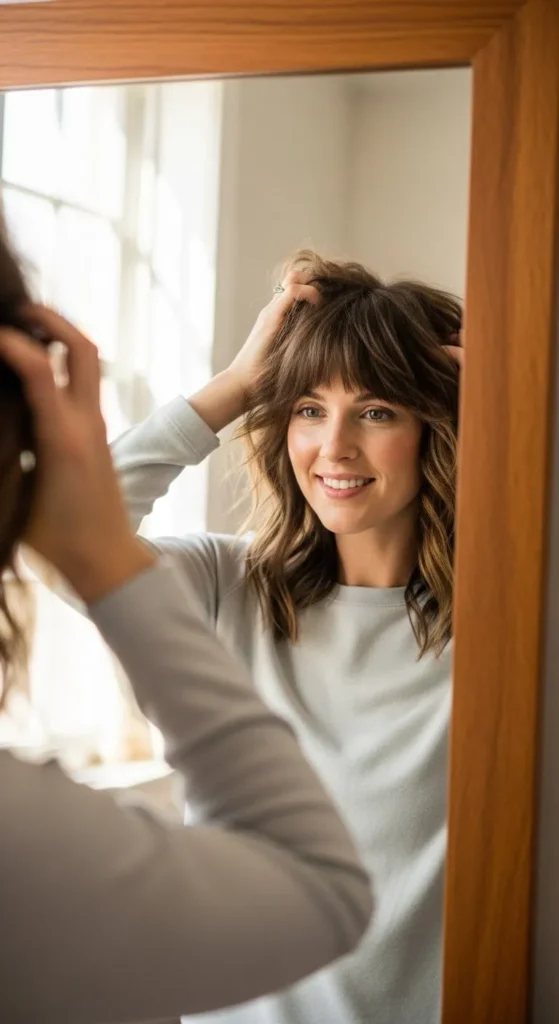
[Image Prompt] A woman running her fingers through freshly styled shag hair with soft waves, smiling in front of a mirror in warm natural light.
The end result? A bouncy, layered haircut that looks salon-done but was actually created by you.
Step 7: Maintain and Refresh
To keep your shag looking its best, do a quick trim every 6–8 weeks. This keeps the layers fresh and prevents split ends from dulling the shape.
When styling, don’t overdo it—shag haircuts are meant to look playful and natural. A little texture spray or dry shampoo can revive the look in seconds.
The Takeaway
Cutting your own trendy shag haircut at home can feel intimidating, but it’s surprisingly doable when you go slow and follow the right steps. The beauty of a shag is that it’s forgiving—those soft, imperfect layers are what make it so effortlessly cool.
So grab your scissors, take your time, and have fun experimenting. You might just find that your best haircut ever was DIY.
Save this step-by-step guide for your next hair refresh—you’ll love the results.

Leave a Reply