
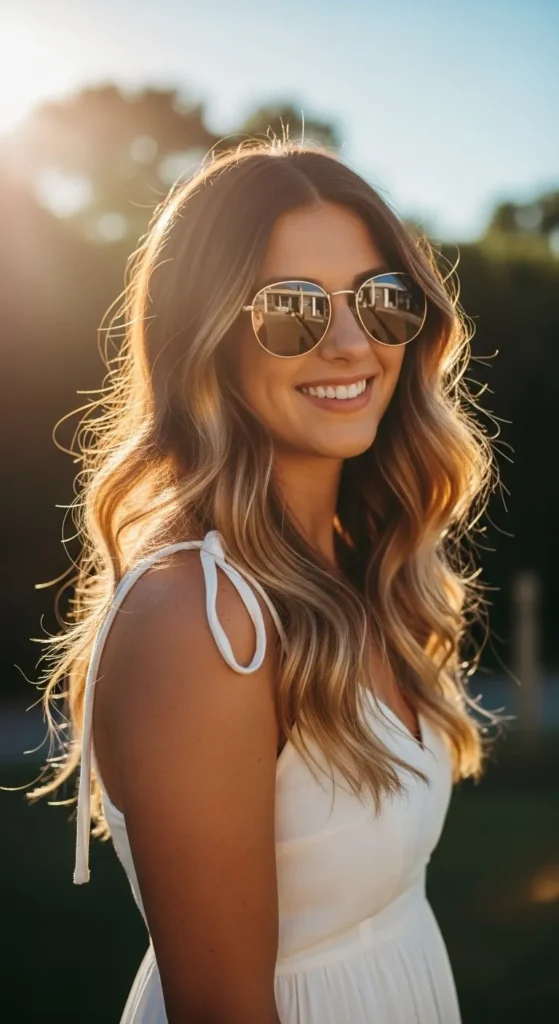
Ever dreamed of that sun-kissed, beachy hair glow without spending hours (and hundreds of dollars) at the salon? Balayage — that soft, blended hair-lightening technique everyone’s obsessed with — is easier to do at home than you might think. With the right tools, a little patience, and a few pro tips, you can create salon-level balayage without ever leaving your bathroom.
Let’s walk through how to do a perfect at-home balayage step by step while keeping your hair healthy, glossy, and gorgeous.
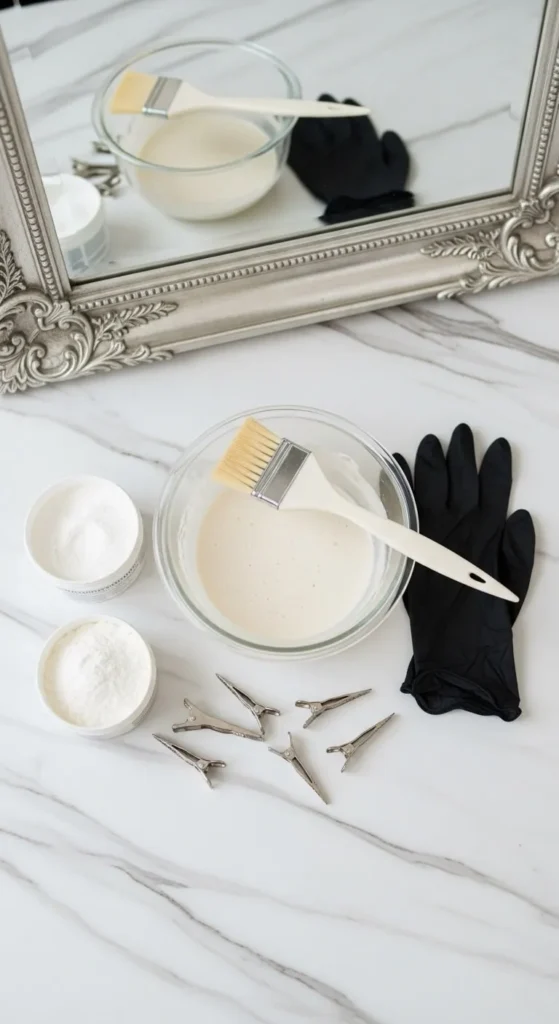
What You’ll Need Before You Start
Before diving in, gather your balayage essentials. A smooth process starts with preparation, and you’ll feel way more confident when everything’s within reach.
Here’s your toolkit:
- A balayage or highlighting brush
- Mixing bowl
- Gloves and a protective cape
- Sectioning clips
- A wide-tooth comb
- Lightening powder (bleach)
- Developer (20–30 volume depending on your base color)
- Toner or purple shampoo
- Deep conditioner or hair mask
Pro Tip: Lay everything out on a towel before you start. It keeps your workspace tidy and your process stress-free.
Step 1: Prep Your Hair the Right Way
Don’t start with freshly washed hair. Balayage works best on dry, unwashed hair, as your natural oils protect your scalp from the lightener.
Do this before applying:
- Brush out any tangles.
- Divide your hair into 4–6 sections using clips.
- Put on an old T-shirt or cape — it’ll get messy.
If your hair is dark, doing a strand test is a smart move. It’ll help you see how quickly your hair lightens and what tone it reaches.
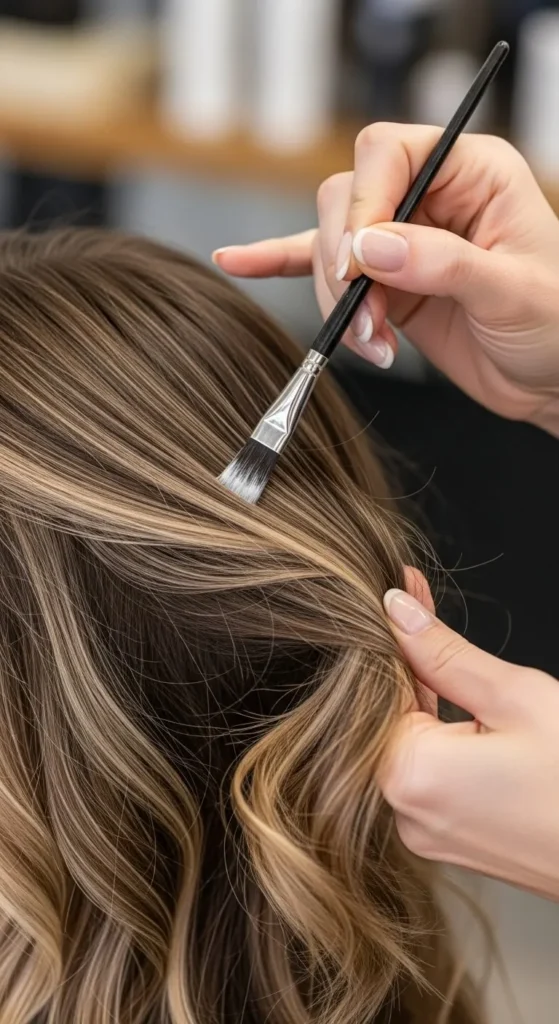
Step 2: Mix and Apply the Lightener
Now comes the fun part — painting those dreamy highlights!
In a non-metal bowl, mix your lightener powder and developer according to the box instructions. The consistency should be creamy, not runny.
Application tips:
- Start a few inches below your roots.
- Focus the lightener on mid-lengths and ends for that lived-in balayage look.
- Use V-shaped brush strokes for a natural blend.
- Feather the color upward slightly to avoid harsh lines.
Don’t worry about perfection. Balayage is meant to look soft and sun-kissed, not rigid or stripey.
Step 3: Let It Process and Be Patient
This step is where the magic happens. Let the lightener sit for 20–45 minutes, depending on your base color and desired lift.
Check your strands every 10 minutes. You want a golden or honey tone, not white or brittle ends. If your hair is fine, check even sooner. Use a handheld mirror to peek at the back sections.
Once your color looks right, rinse thoroughly with lukewarm water and shampoo with a gentle formula.

Step 4: Tone for That Salon-Finish Glow
Bleach often lifts hair to a yellowish shade. That’s where toner (or purple shampoo) comes in to cool down brassiness.
Here’s how to tone:
- Apply toner or purple shampoo evenly through towel-dried hair.
- Leave on for 5–15 minutes (check the product instructions).
- Rinse with cool water — it seals in shine and smoothness.
Toning tip:
If your hair pulls too warm, a silver or ash toner helps neutralize the brass. For a warmer balayage like caramel or honey, a beige or golden toner adds warmth and depth.
Step 5: Deep Condition and Style
Lightening can make your strands thirsty, so show them some love. Apply a deep conditioner or nourishing hair mask right after rinsing the toner. Let it sit for at least 10 minutes, then rinse thoroughly.
Once your hair is towel-dried:
- Add a leave-in serum or heat protectant.
- Air dry for a soft wave, or blow-dry with a round brush for volume.
- Curl a few face-framing strands for that effortless, “just left the salon” look.

Pro Tips for a Natural-Looking Balayage
Want your DIY balayage to look truly professional? Keep these stylist-approved tricks in mind:
- Less is more: Apply lightener sparingly at first. You can always add more in your next session.
- Blend with your fingers: After brushing, lightly smudge the ends with your gloved fingers to soften lines.
- Work in layers: Focus on the top and outer layers — they catch light naturally.
- Protect your ends: Coat them with conditioner before applying lightener if your hair is fragile.
- Add face-framing highlights: Paint a few thin strokes near your face for a bright, fresh effect.
How to Maintain Your Balayage
Balayage is wonderfully low-maintenance, but keeping that glow takes a little care.
Do this regularly:
- Use sulfate-free shampoo to protect your color.
- Wash your hair less often (2–3 times a week is perfect).
- Use purple shampoo once a week to fight brassiness.
- Apply hair oil or leave-in treatment to prevent dryness.
- Trim your ends every 8–10 weeks to keep them healthy.
For an extra refresh between lightening sessions, try a gloss treatment or a tinted hair mask — both keep the tone rich and reflective.
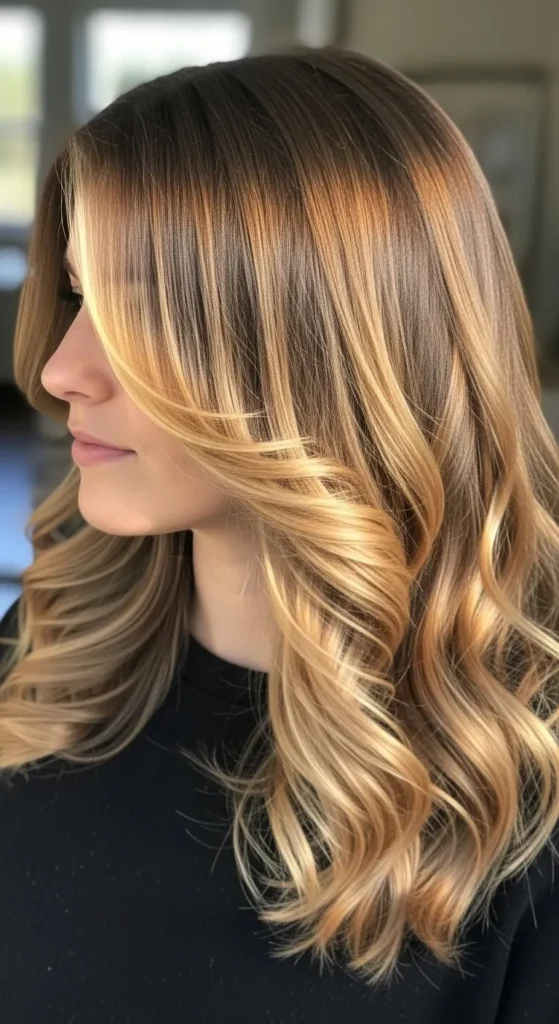
Final Touch: Enjoy Your New Look
You’ve just created your own balayage masterpiece. Whether it’s golden honey, caramel, or soft ash, your hair now has that sun-kissed, dimensional glow people pay big bucks for.
Keep experimenting with tones and placements until you find your signature style, and don’t forget to take good care of your newly lightened locks.
Save this guide for your next at-home color day and get ready for all the “Where did you get your hair done?” compliments.

Leave a Reply