
The butterfly haircut has completely taken over social media and for good reason. It’s bouncy, layered, and face-framing in all the right ways. Think of it as a mix between soft shag and classic ’90s blowout, giving your hair volume and movement without losing length. But here’s the best part—you don’t need a fancy salon visit to get it. With the right tools, a little patience, and some guidance, you can achieve that gorgeous butterfly look right at home.
If you’re ready to try the viral butterfly haircut yourself (and save your money while doing it), here’s your complete step-by-step guide.
What Makes the Butterfly Haircut So Special
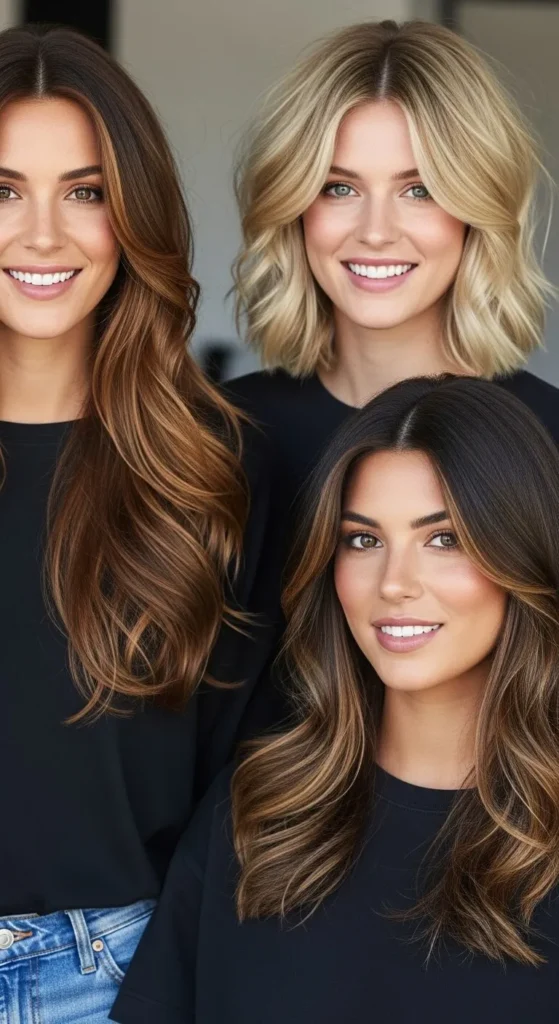
Before grabbing your scissors, it’s worth understanding what makes this cut so flattering. The butterfly haircut features short, face-framing layers on top—like wings—combined with longer layers underneath. The result? Volume at the crown, soft movement, and that effortless “blowout” feel.
It works beautifully on:
- Medium to long hair lengths
- Straight, wavy, or slightly curly textures
- Anyone who wants volume without chopping off inches
It’s also low-maintenance since it grows out nicely and can be refreshed with just a trim every few months.
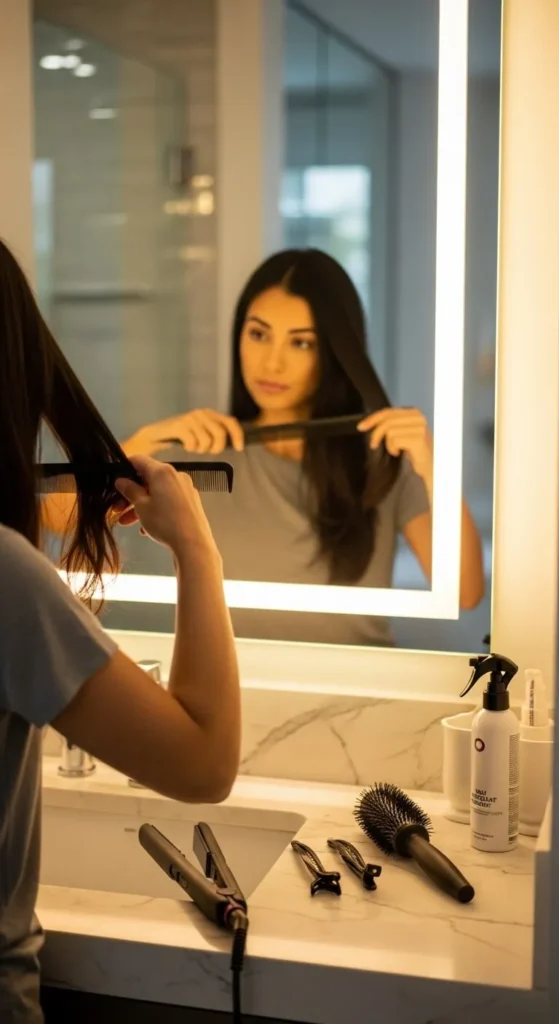
Step 1: Gather Your Tools and Prep Your Hair
A little prep goes a long way when cutting hair at home. Here’s what you’ll need:
- Sharp hair-cutting scissors (not kitchen scissors!)
- A fine-tooth comb
- Sectioning clips or hair ties
- A spray bottle filled with water
- A mirror setup with good lighting
Wash your hair and let it air-dry until it’s about 70–80% dry. You want it damp, not soaking wet. Brush out all tangles and part your hair down the middle.
Tip: If your hair tends to frizz, apply a small amount of leave-in conditioner or smoothing serum before starting.

Step 2: The Ponytail Sectioning Trick
Here’s the viral “two-ponytail” method that makes the butterfly haircut easy and foolproof—even for beginners.
- Create your first ponytail – Brush all your hair forward and tie it at the center of your forehead, just above your eyebrows. This front ponytail will create your shortest layers and frame your face.
- Create your second ponytail – Gather the rest of your hair at the back of your head, near the nape of your neck. This one will form your longer layers.
- Double-check symmetry – Make sure both ponytails are centered and smooth before cutting.
The reason this method works so well is that the angles created by the ponytails mimic the layered structure of a professional butterfly cut.
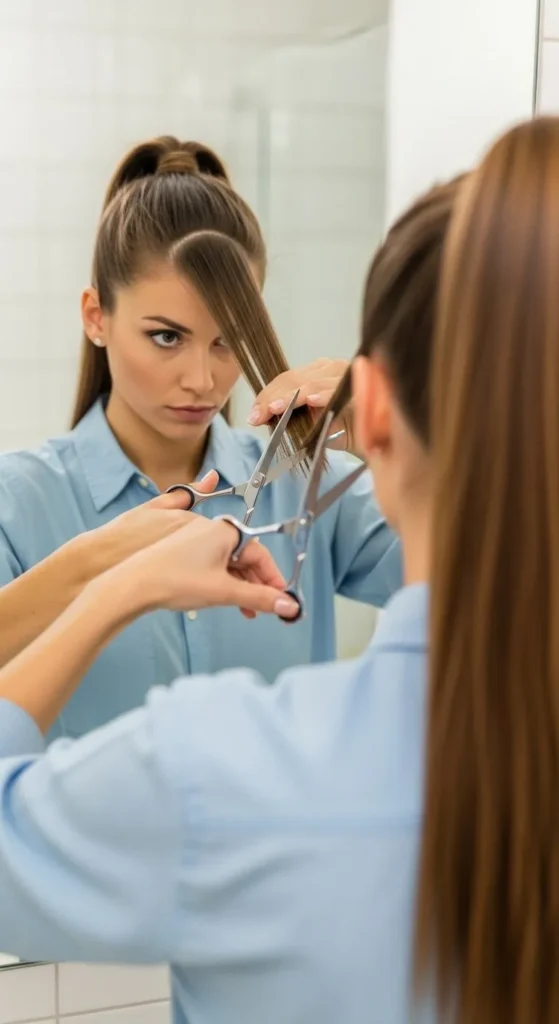
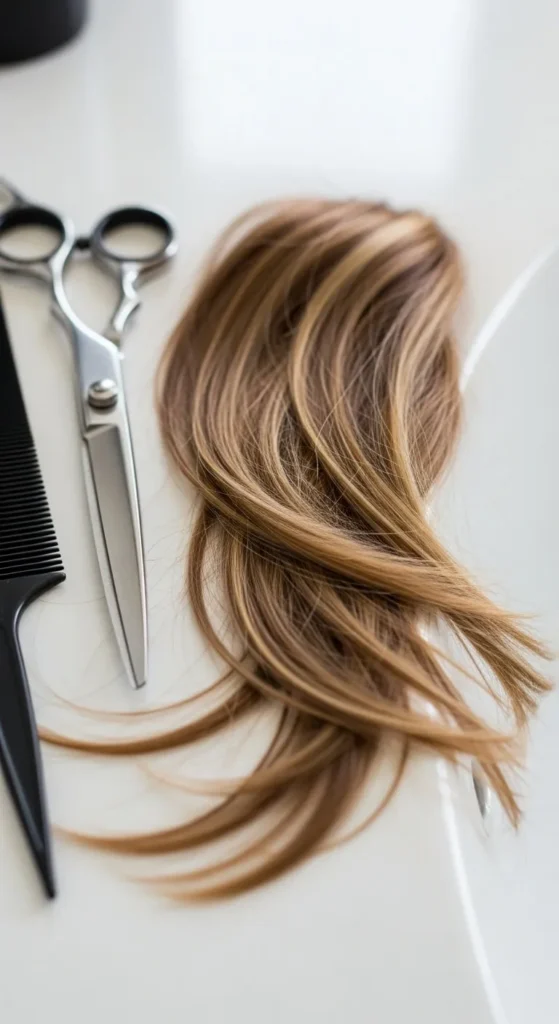
Step 3: Cut with Confidence (But Carefully!)
Now comes the most satisfying part—the actual cutting.
- Hold the ends of your first ponytail straight between your fingers.
- Decide how much to trim. For soft layers, start small—around 1 to 2 inches.
- Cut straight across, then slightly angle your scissors to “point cut” for a softer edge.
- Repeat with the back ponytail, trimming 1 to 2 inches less than the front.
Don’t rush this step. Take your time, and remember: you can always trim more, but you can’t undo a big chop.
Once done, release both ponytails and give your hair a good shake. You’ll instantly see those soft, blended layers form.
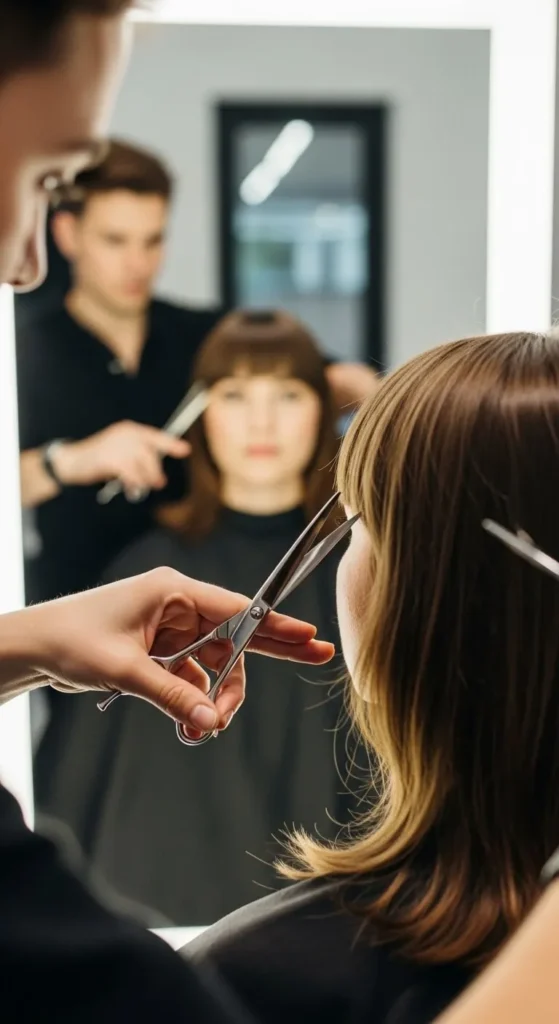
Step 4: Perfect the Layers and Face Frame
Now that you have the base shape, it’s time to refine the details.
- Face-Framing Layers: Section the front strands that naturally fall around your face. Trim them lightly to match your cheekbones or jawline for a flattering frame.
- Blend the Layers: Use your scissors in a vertical motion to soften any harsh lines where the short and long layers meet.
- Check Balance: Stand in front of the mirror and ensure both sides fall evenly. Small adjustments go a long way.
If your hair is curly or wavy, it might look uneven while damp. Always let it dry before finalizing any touch-ups.
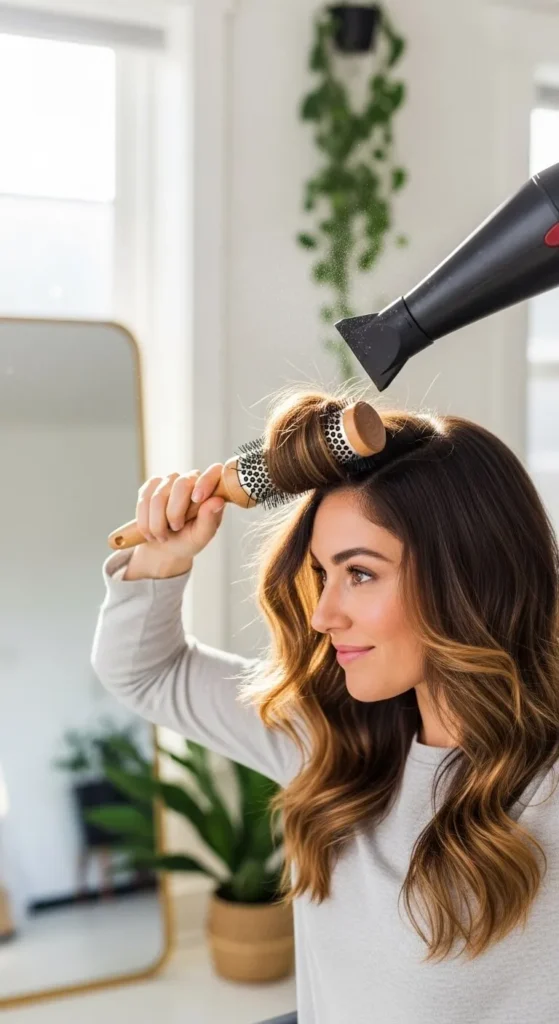
Step 5: Style It Like a Pro
A butterfly haircut truly comes alive with the right styling. You can keep it natural or give it that salon-worthy bounce with minimal tools.
Here’s how to bring out the best shape:
- Apply a volumizing mousse or root lift spray.
- Blow-dry using a round brush, lifting at the crown.
- Use Velcro rollers on the top layers for extra body (let them cool before removing).
- Finish with a lightweight shine spray or serum for that glossy finish.
If you’re going heatless, braid your hair loosely before bed or use a silk ribbon curling method for soft overnight waves that accentuate the layers.
Step 6: Maintain Your Butterfly Cut at Home
To keep your butterfly haircut looking fresh without constant salon visits:
- Trim every 8–10 weeks to prevent split ends.
- Use a sulfate-free shampoo to preserve smoothness.
- Apply a deep conditioner weekly to keep your layers shiny and soft.
- Sleep on a silk pillowcase to avoid frizz and breakage.
When styling daily, avoid heavy oils that can weigh down the volume. Instead, use lightweight mists or serums for a bouncy finish.
Step 7: Customize Your Butterfly Look
One of the best things about the butterfly haircut is how adaptable it is. You can tweak it to fit your vibe and face shape.
- Round face: Keep layers longer around the face to elongate your look.
- Square face: Add more feathering around the jawline for softness.
- Heart-shaped face: Try shorter top layers to add width near the chin.
- Fine hair: Add more internal layers for volume.
- Thick hair: Go for fewer, longer layers to reduce bulk while keeping flow.
For an extra glam touch, experiment with subtle highlights or a money-piece color to make your layers pop even more.
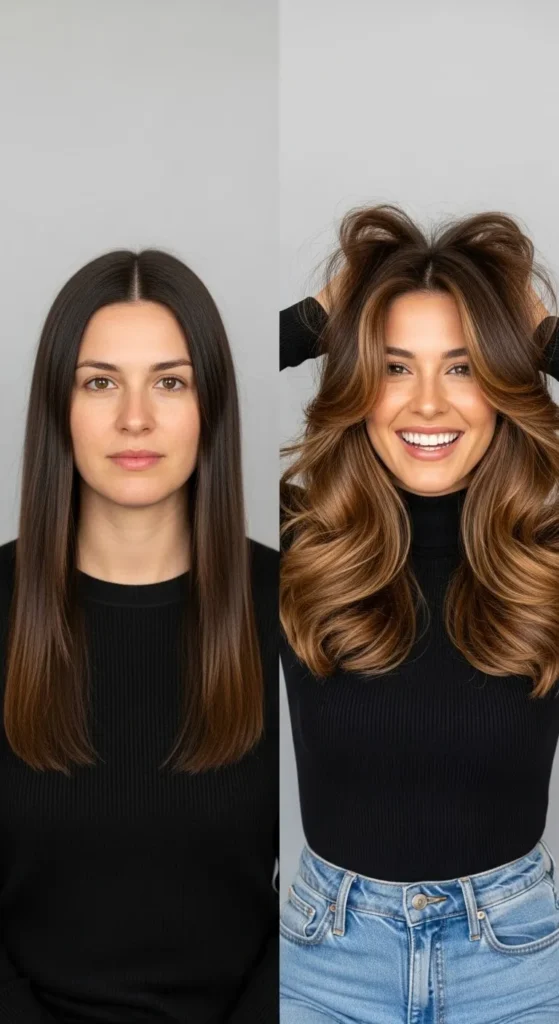
The Takeaway
You don’t need a fancy salon or hundreds of dollars to rock a perfect butterfly haircut. With a few tools, careful sectioning, and a bit of confidence, you can create a fresh, voluminous style that flatters your face and feels salon-quality.
Remember: the key is patience and small, gradual cuts. Once you get the hang of it, you’ll wonder why you ever paid salon prices in the first place.
Save this guide before your next hair refresh—you might just become your own favorite hairstylist.

Leave a Reply