
Ever looked in the mirror and thought, “I could use a little brightness in my hair”? You’re not alone. Adding highlights is one of the easiest ways to refresh your look — and yes, you can do it yourself without booking a salon appointment. With the right tools, prep, and patience, at-home highlights can look just as natural and sun-kissed as a pro job.
Gather Your Highlighting Essentials
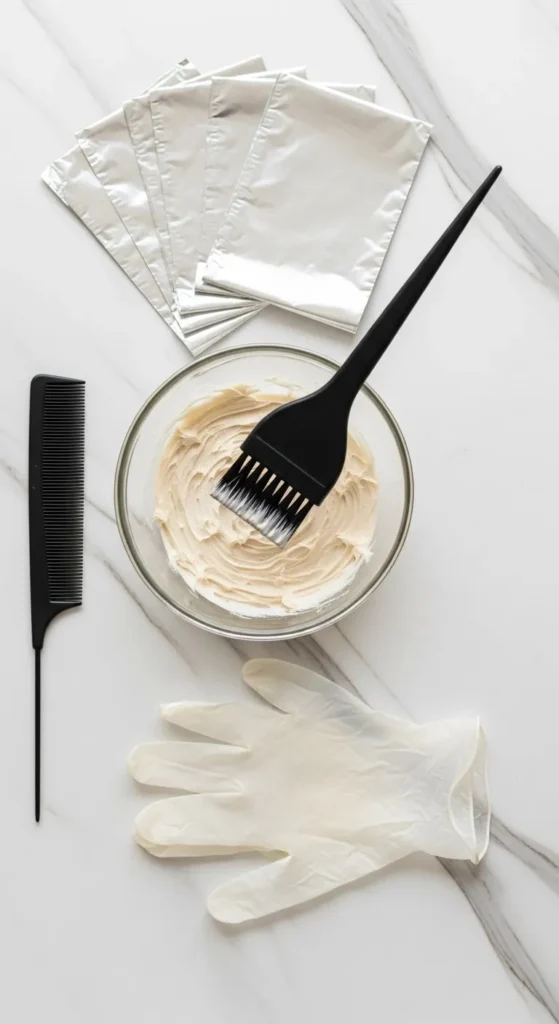
Before you dive in, make sure you have everything ready. Nothing’s worse than realizing mid-process that you forgot gloves or a mixing bowl.
Here’s what you’ll need:
- A highlighting or balayage kit (choose one suited for your hair color)
- Gloves
- A tint brush or toothbrush
- Mixing bowl
- Foil or plastic wrap
- Old towel or t-shirt
- Hair clips
- A fine-tooth comb
Pro tip: Always do a strand test first! It’ll help you see how your hair reacts to the lightener before applying it all over.
Choose the Right Technique for You
Different highlighting methods work better for different hair types and goals. Here’s how to pick one that suits your vibe:
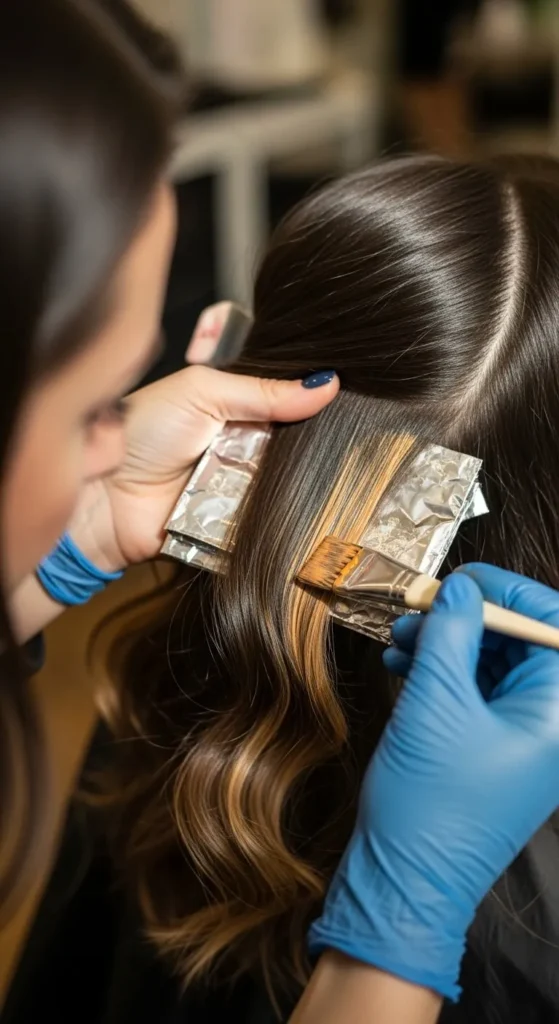
- Foil Highlights: Great for precise, salon-style streaks. You’ll wrap small hair sections in foil to isolate them as they lighten.
- Balayage: Ideal if you want a natural, sun-kissed gradient. You’ll paint lighter color on mid-lengths and ends, skipping the roots.
- Cap Highlights: Easiest for beginners. You pull strands through holes in a highlighting cap and apply the dye on top.
If you’re new to coloring, start small — subtle, face-framing highlights are foolproof and flattering on everyone.
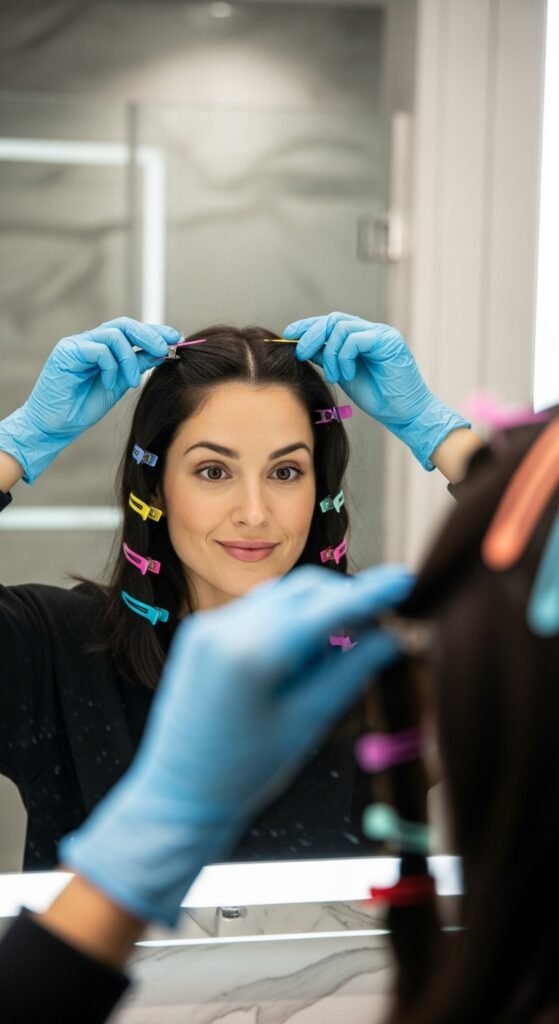
Section and Prep Your Hair
Sectioning is the secret to even, professional-looking highlights.
- Brush out tangles and part your hair as you normally wear it.
- Divide your hair into four main sections — top, sides, and back — securing each with clips.
- If you’re doing foil highlights, take small strands (no wider than a pencil) for a natural look.
Tip: For face-framing brightness, focus on sections near the front. If you want all-over dimension, scatter a few strands around the crown and underneath layers.
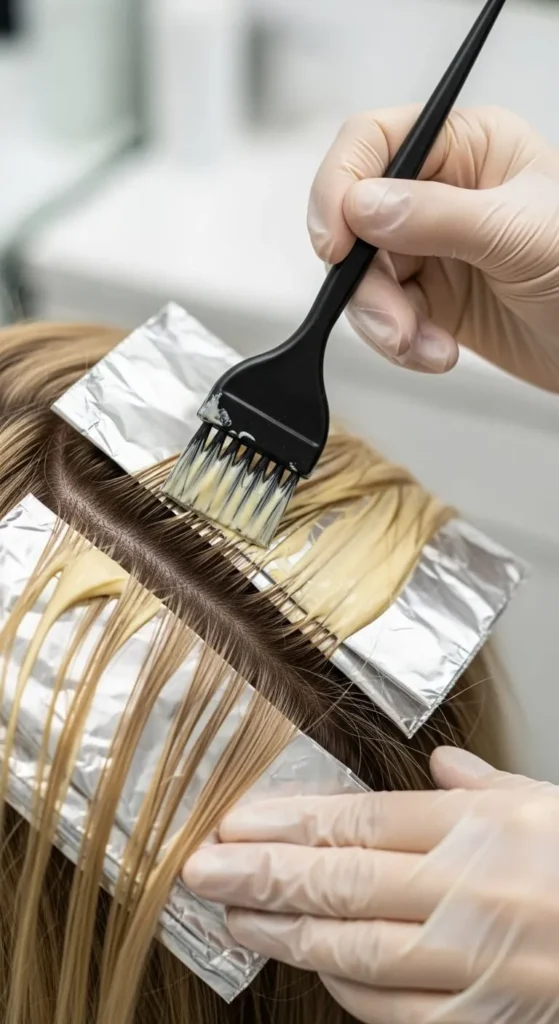
Mix and Apply the Lightener
Follow the instructions on your kit exactly — mixing ratios matter. Once ready, put on gloves and start painting the mixture onto selected strands.
For foil highlights:
- Place a small piece of foil under the section.
- Use your brush to apply the lightener from mid-length to ends, then softly blend upward.
- Fold the foil upward to trap the heat and speed up processing.
For balayage:
- Hold each section flat and sweep the lightener on in a “V” shape.
- Leave the top darker for a more lived-in effect.
Keep checking your strands every 5–10 minutes to ensure they don’t over-lighten.
Timing Is Everything
The longer you leave the lightener on, the lighter your highlights will be — but don’t exceed the recommended time. Most at-home kits suggest 20–45 minutes, depending on your base color and desired tone.
Remember:
- Fine hair lightens faster than thick hair.
- Warmer base colors (like red or brown) may need extra toning after lightening.
Once you’ve reached the right shade, rinse thoroughly with lukewarm water.
Rinse, Tone, and Treat
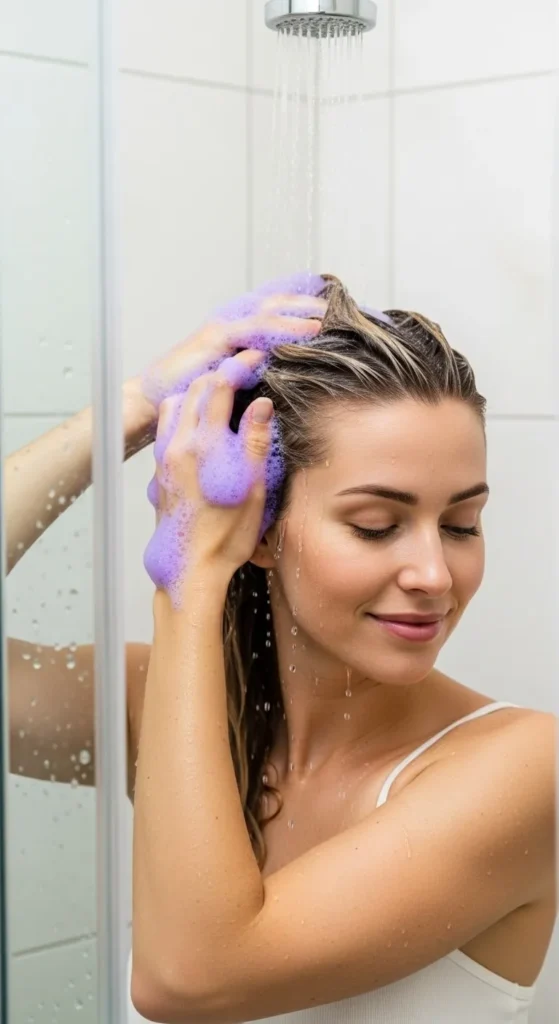
After rinsing out the lightener, use a purple or blue shampoo if your hair looks brassy. Leave it on for 2–3 minutes to neutralize yellow or orange tones.
Then, follow with a deep conditioner or hair mask to restore moisture. Bleach can be drying, so this step helps your new highlights stay soft and shiny.
For the next few days, avoid heat styling or additional coloring. Your strands deserve a rest!
Maintain Your Highlights
To keep your highlights fresh and glossy between touch-ups, add these to your routine:
- Use sulfate-free shampoo to protect color.
- Deep condition once a week.
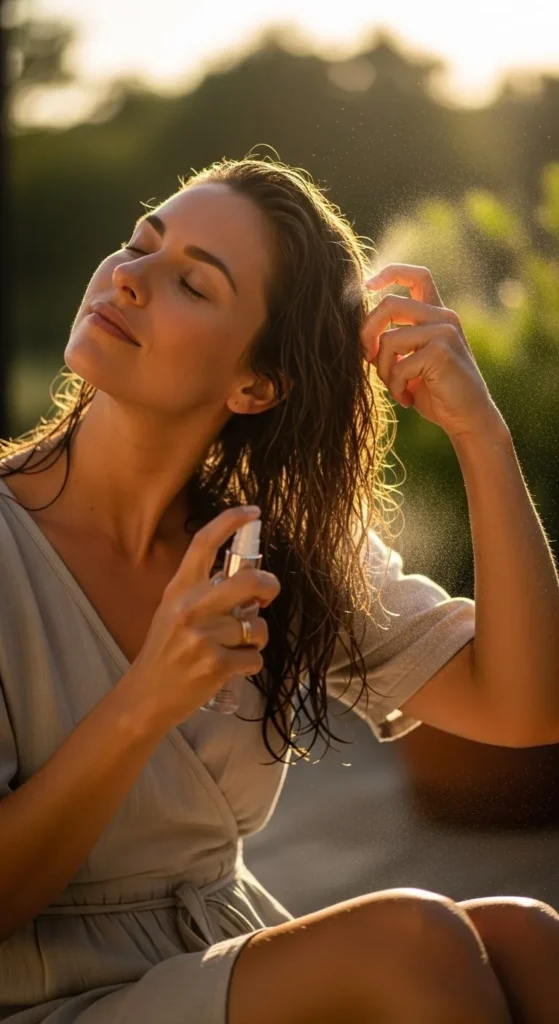
- Apply a leave-in serum for extra shine.
- Limit sun exposure and chlorine — both can dull blonde tones.
If you start noticing brassiness again, use purple shampoo once or twice a week. And when your roots grow out, you can refresh just the top sections for a seamless blend.
Bonus Tip: Try Natural Lightening Methods
If you prefer a chemical-free approach, there are natural ways to add subtle highlights over time:
- Lemon juice: Mix with water and sit in the sun for 15–20 minutes.
- Honey and cinnamon: Combine with conditioner for a gentle brightening mask.
- Chamomile tea rinse: Perfect for blondes — adds a warm, golden tone.
These won’t give you salon-level lightness, but they’re great for soft, gradual brightness.
Final Thoughts
Highlighting your hair at home can be fun, creative, and surprisingly easy when you know the basics. Whether you’re after bold streaks or soft sunlit strands, taking your time and following these steps will leave you with a fresh, glowing look that feels all your own.
So grab your kit, play your favorite playlist, and turn your bathroom into your personal salon. Save this guide for later when you’re ready to try your next DIY hair glow-up! ✨

Leave a Reply