
If your hair feels dull, frizzy, or dry, it might just be craving some natural TLC. The good news? You don’t need a fancy salon appointment or pricey product to bring back that healthy shine. A homemade hair mask, made with a few kitchen staples, can deeply nourish your strands and give you that soft, glossy finish you’ve been missing.
Let’s dive into how you can make your own DIY hair mask right at home — one that smells good, feels luxurious, and actually works.
Why DIY Hair Masks Are a Game-Changer
DIY hair masks are all about simplicity. You know exactly what’s going into your hair — no harsh chemicals, no synthetic fragrances, just pure nourishment. These natural ingredients help:
- Lock in moisture for dry or frizzy hair
- Strengthen weak strands
- Add natural shine and smoothness
- Repair heat or color damage
Think of it as a mini spa day for your hair, made from ingredients you already have in your kitchen.
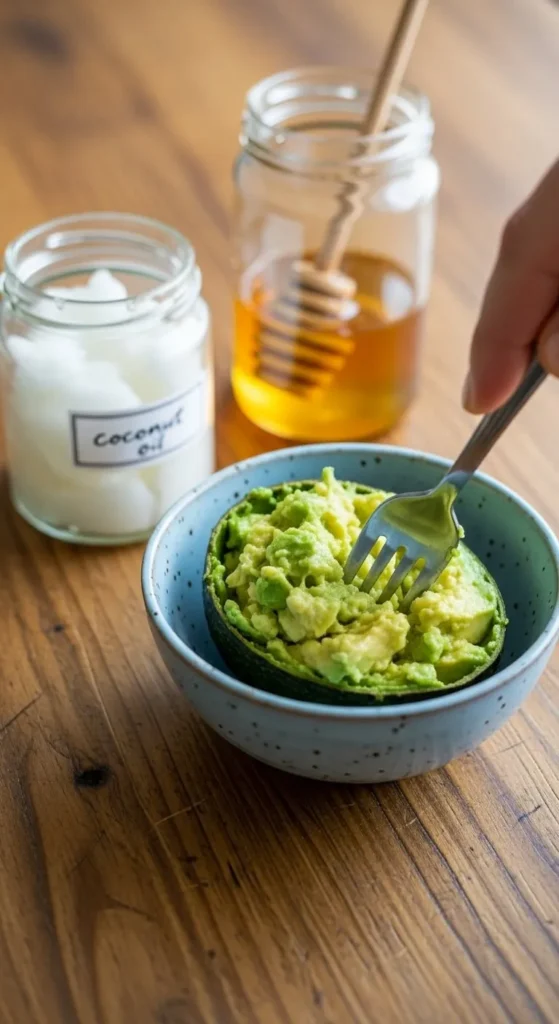
Step 1: Choose Your Base Ingredient
Every great mask starts with a base — this is what provides the main nourishment and texture.
Here are a few options to pick from based on your hair type:
- Dry or frizzy hair: Use mashed avocado or banana.
- Oily scalp: Try plain yogurt or aloe vera gel.
- Damaged or brittle hair: Go for coconut milk or full-fat milk.
Each one acts as a natural conditioner and helps your other ingredients blend smoothly.
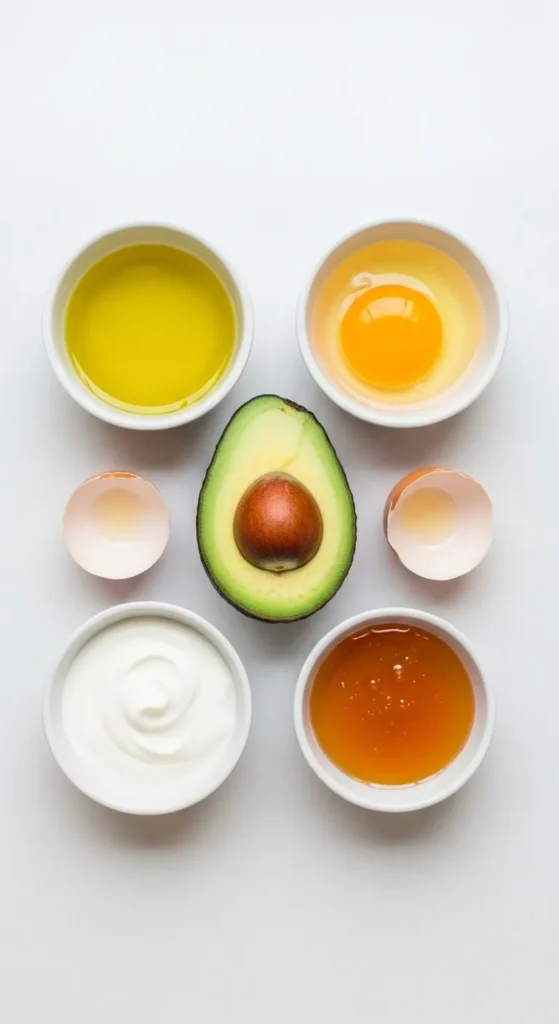
Step 2: Add the Power Ingredients
This is where the magic happens. Depending on what your hair needs most, you can mix and match:
For Shine and Smoothness
- 1 tablespoon of honey (adds moisture and glow)
- 1 tablespoon of olive oil (smooths frizz and adds softness)
For Strength and Growth
- 1 egg yolk (rich in protein to strengthen strands)
- 1 tablespoon of castor oil (promotes growth and thickness)
For Deep Hydration
- 2 tablespoons of coconut oil (deeply moisturizes dry ends)
- 1 tablespoon of yogurt (soothes scalp and conditions)
You can mix these based on your hair’s mood. For example, avocado + honey + olive oil is an amazing combo for dull, lifeless hair.
Step 3: Mix It All Together
In a small bowl, combine your chosen ingredients. Use a whisk or spoon to blend everything until it’s smooth and creamy. You want the texture to be thick enough to coat your hair but not too sticky.
Pro tip: Slightly warm your mixture (just a few seconds in the microwave) before applying. This helps the oils penetrate better and makes it easier to spread through your hair.
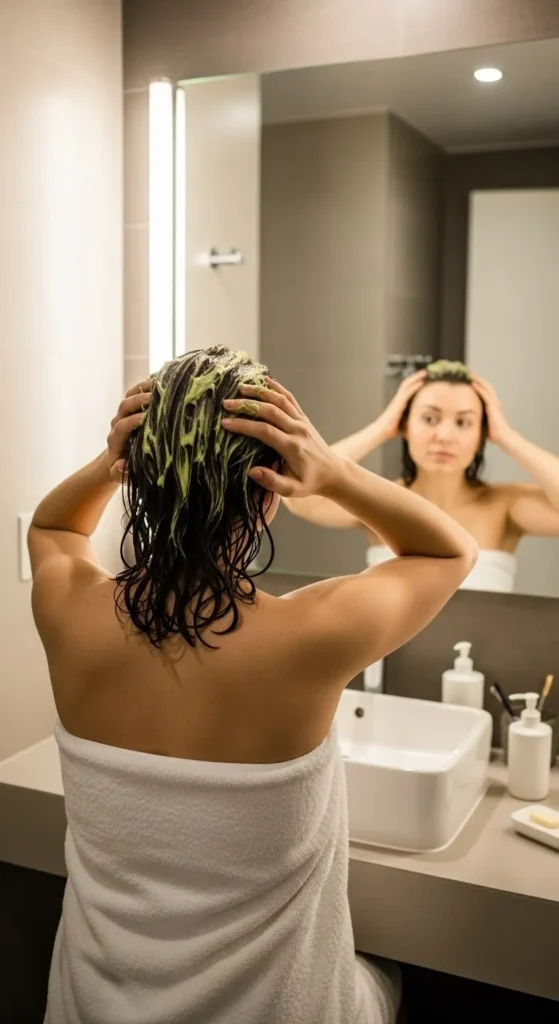
Step 4: Apply the Mask the Right Way
Application makes a huge difference in how well your mask works. Here’s how to get it right:
- Start with damp hair. It helps the mask absorb more easily.
- Divide your hair into sections. Use clips or ties to make it manageable.
- Apply from mid-lengths to ends first. That’s where the most damage usually is.
- Massage into your scalp using gentle circular motions for 2–3 minutes.
- Comb through with a wide-tooth comb to distribute evenly.
Once done, twist your hair into a bun and cover it with a shower cap or towel to trap the warmth.
Step 5: Let It Work Its Magic
Let your hair soak in all that goodness for about 20 to 30 minutes. If your hair is extra dry, you can leave it for up to an hour. Use this time to relax — maybe read, scroll Pinterest, or enjoy some tea.
The natural oils and vitamins are repairing, strengthening, and hydrating your strands during this time, so patience definitely pays off.
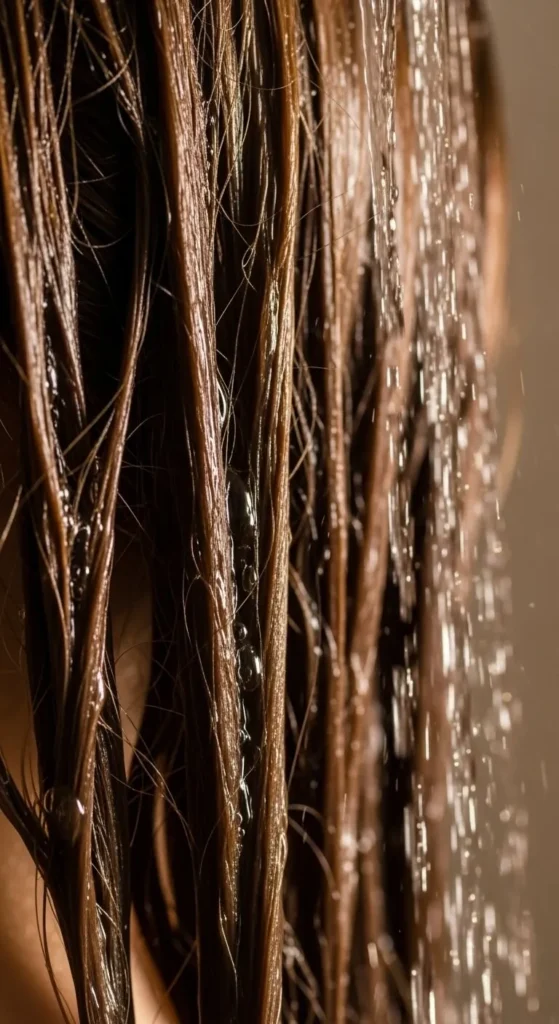
Step 6: Rinse and Reveal
When it’s time to rinse, use lukewarm water (not hot — it can cook the egg if you used one!). Shampoo gently to remove the residue, then follow with your favorite conditioner if needed.
Once your hair dries, you’ll notice an immediate difference — it feels smoother, shinier, and easier to manage.
Bonus: Customize Your Mask for Specific Hair Needs
Want to take your DIY hair care up a notch? Here are a few fun twists:
- For colored hair: Add a spoon of aloe vera gel to soothe and lock in color.
- For frizz control: Mix in a few drops of argan oil or vitamin E oil.
- For extra shine: Rinse with cold water and apple cider vinegar (1:2 ratio).
- For scalp care: Add a pinch of cinnamon powder to boost circulation.
Each tweak helps target a specific concern while keeping your recipe natural and simple.
Tips for the Best Results
- Use the mask once a week for healthy, balanced hair.
- Always apply it on clean, product-free hair.
- Store leftover mixture in the fridge for up to two days.
- Wrap your hair in a warm towel for deeper penetration.
- Be consistent — natural care takes time but brings lasting results.

The Takeaway
Making your own DIY hair mask is not only affordable but also deeply satisfying. You’re feeding your hair with ingredients you can trust — no harsh chemicals, just nature’s best. Whether it’s avocado, coconut oil, or honey, these simple mixes can make your hair softer, shinier, and healthier with every use.
So next time your hair feels dull or tired, skip the store-bought product and whip up your own mask instead.
Save this recipe for later — your future hair will thank you!

Leave a Reply