
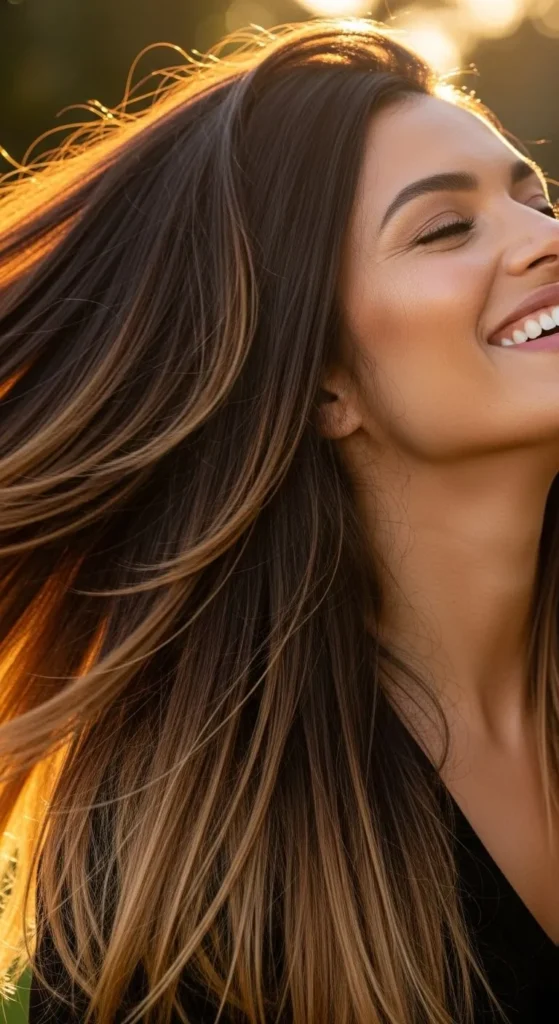
If you’ve ever admired that dreamy, sun-kissed look where hair gently melts from one shade to another, you’re already in love with ombre. The best part? You don’t need a salon visit to achieve it. Soft ombre is all about blending shades so smoothly that your hair looks naturally lightened — like you’ve spent a summer at the beach, not hours with a stylist.
Let’s dive into how you can create a soft ombre at home, keep it looking healthy, and choose shades that truly flatter your tone.
Step 1: Understand What “Soft Ombre” Really Means
Before you grab a brush or bleach, it’s important to know what you’re aiming for. Soft ombre isn’t about sharp contrast or dramatic color blocks — it’s a gentle gradient that moves seamlessly from dark roots to lighter ends.
Think of it as the “no-makeup makeup look” of hair color. You want people to notice how glowy and dimensional your hair looks, not to see exactly where the color starts and ends.
The key differences from classic ombre:
- Natural transition: The color should fade gradually, not abruptly.
- Less bleach: You’re lightening fewer inches, keeping the look more subtle.
- Low maintenance: Regrowth blends in, so touch-ups aren’t frequent.
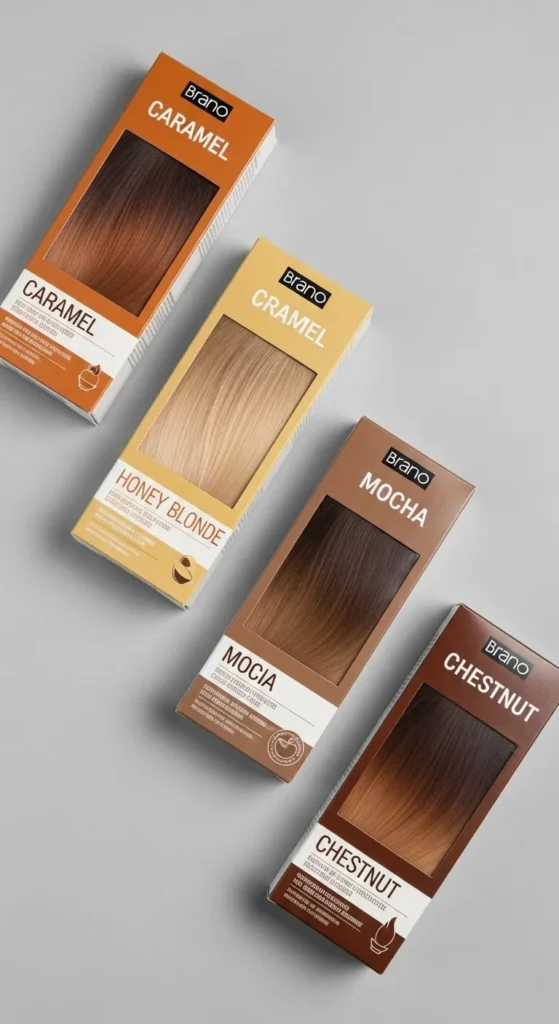
Step 2: Pick the Right Shades for Your Hair
Choosing the right tones makes all the difference between a harsh dye job and a soft, natural gradient.
Here’s a quick guide based on your base color:
- Dark brown hair: Go for warm caramel, toffee, or chestnut ends.
- Medium brown hair: Honey blonde or light golden brown creates a smooth lift.
- Blonde hair: Try soft platinum or buttery blonde for dimension.
- Black hair: Mocha or bronze shades work beautifully without turning orange.
Tip: Stay within two to three shades lighter than your natural tone for a believable effect.
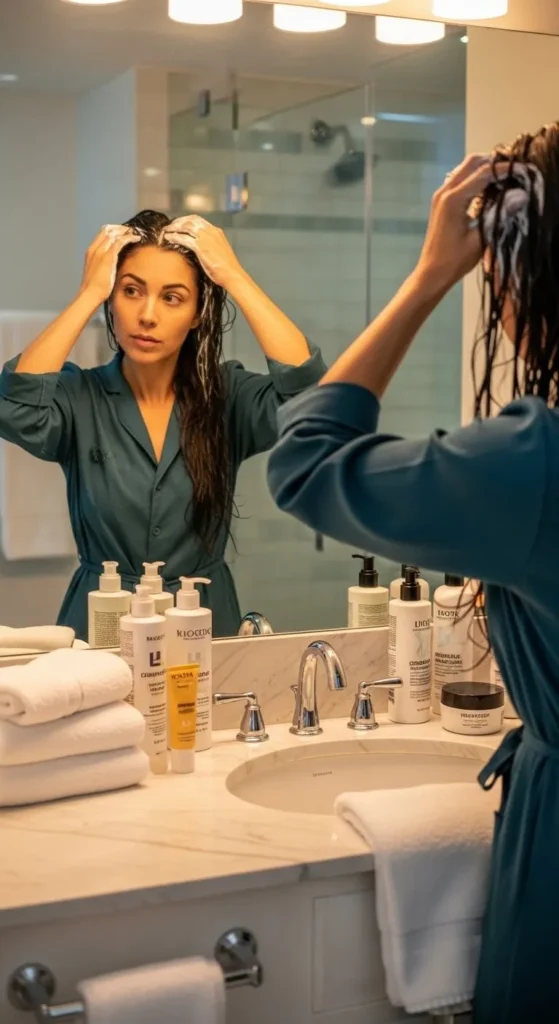
Step 3: Prep Your Hair Before Coloring
Healthy hair takes color better and keeps it shiny after bleaching. Spend a few days preparing before you start the ombre process.
Do this before coloring:
- Deep condition: Use a nourishing mask two days before to strengthen your hair.
- Skip shampoo: Avoid washing your hair the day of coloring — natural oils protect your scalp.
- Detangle: Smooth out knots so the dye spreads evenly.
- Wear an old shirt and gloves: It’s going to get messy!
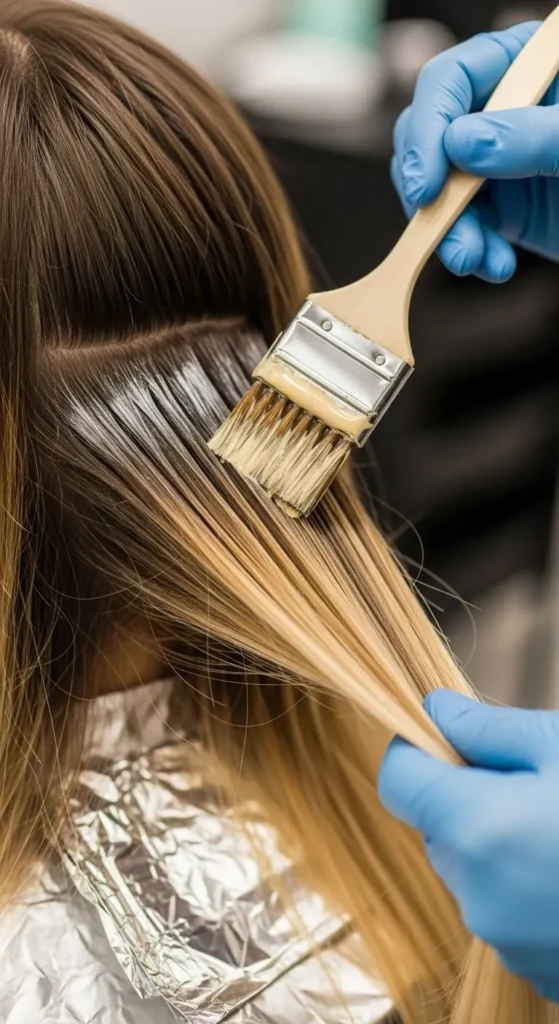
Step 4: Apply the Ombre Color in Sections
This is where the magic happens. You’ll create a gradual transition that mimics natural sun-lightening.
What you’ll need
- A highlighting or ombre kit
- A tint brush and bowl
- Foil or plastic wrap
- Comb and hair clips
How to apply
- Divide your hair into four sections. Clip the top layers away.
- Start mid-length. Begin applying color about halfway down your hair, focusing on the lower section first.
- Blend upward. Use a dry brush to feather the dye toward the roots so it fades naturally.
- Focus on face-framing strands. Add slightly more lightness to the front for a sun-touched glow.
- Wrap and wait. Cover with foil or plastic to keep the bleach active for 20–30 minutes (check instructions).
Pro tip: Use a toothbrush for extra-soft blending at the transition line — it diffuses color beautifully.
Step 5: Rinse, Tone, and Treat
Once your hair reaches the desired shade, it’s time to lock in that softness.
- Rinse with lukewarm water until it runs clear.
- Apply toner if your hair looks brassy. Choose a purple or blue-based toner depending on your shade.
- Condition generously — bleach opens the cuticle, and conditioner helps seal it again.
- Air dry if possible. Heat styling right after coloring can make strands brittle.
Step 6: Maintain the Gradient and Keep Hair Healthy
Soft ombre may be low-maintenance, but it still deserves a little love. Here’s how to make your gradient last longer and stay glossy:
Use the right products:
- Purple shampoo (for blondes) or color-safe shampoo (for brunettes) keeps tones fresh.
- Weekly masks with argan or coconut oil restore softness.
- Heat protectant spray before styling to prevent dryness.
Avoid over-washing:
Two to three times a week is ideal. The less you strip your hair’s natural oils, the better your ombre will look.
Touch up gently:
Instead of re-bleaching, add gloss or toner every 6–8 weeks to refresh the tone without damage.

Step 7: Style to Show Off Your Ombre
Once your gradient is ready, the right hairstyle can make it pop.
Try these soft styles:
- Beach waves: The wavy texture enhances color contrast.
- Half-up buns: Let the transition show off from root to tip.
- Braids: The mix of tones adds depth to every twist.
Add a little shine spray before heading out — it makes the light catch your color beautifully.
Common Mistakes to Avoid
Even soft ombre can go wrong if you rush the process. Watch out for these easy-to-fix errors:
- Applying bleach too high up (makes it look unnatural)
- Using the same developer strength all over
- Not blending enough between sections
- Skipping toner after rinsing
- Forgetting aftercare — hydration is key!
If something doesn’t turn out right, don’t panic. You can soften any harsh line with a semi-permanent gloss or even tone down brightness with a beige toner.
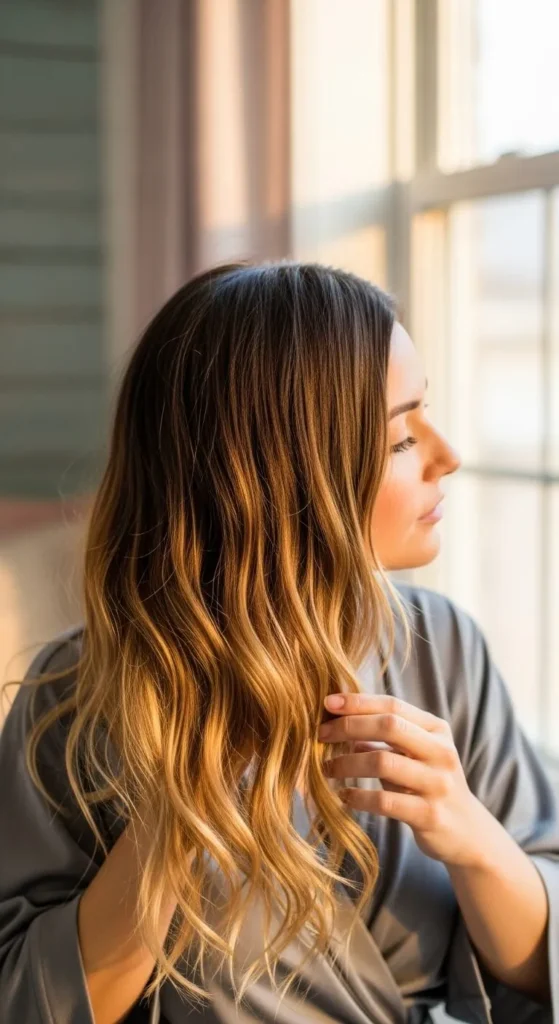
Final Thoughts
Soft ombre is one of those hair trends that will never fade — literally and figuratively. It flatters every hair type, works with any length, and grows out gracefully. Whether you’re going for caramel tones on brunette hair or honey blonde on light brown strands, the trick lies in blending softly and caring for your locks afterward.
Save this guide for your next at-home hair session or pin it for future inspiration. A naturally blended ombre not only looks beautiful but also gives your hair that effortless “I woke up like this” glow and who doesn’t love that?

Leave a Reply